SX70 camera S6 switch repair
Sometimes your camera does not turn on when you open it. It has a Switch (S6) that acts as a “power button” giving power to the camera when it is erected). In the manual it describes the repair procedure so I atempted. I bought a glasses screw kit.
The scope of this text is to help you do a camera repair as is explained in the manual but with pictures.
WARNING: It goes without saying, but nevertheless here it goes: You can seriously damage your camera in the process of doing this repair. It is not for the faint of heart. You have to have some basic dexterity and experience taking apart things. You may need some special tools and you need to have some soldering skills. YOU DO THIS AT YOUR OWN RISK. If you are not sure, just don’t do it, there are amazing professional people that do fix cameras commercially. You are much better off if you send your SX70 to one of them.
As a general rule I will refer to the parts of the camera using the names as in the original Repair Manual that is on the internet. That makes it easier to identify the parts I am referring to. Polaroid is trademark of the Polaroid Corporation.
Step 1: the tools and materials
You are going to need some “basic” tools: pliers, soldering iron with a fine tip, a prying tool, a rubber band, toothpicks, cotton swabs and a dust blower (never use canned air) I also use a vise.
Aside from the usual tools you are going to need what is called a “Polaroid screwdriver” or “SX-70 screwdriver”, since most of the cameras I have come across use a special “square 1mm x 1mm” screws. I do not recommend using a normal or phillips screwdriver since you are most certainly damage your screws, they are rather tight at least the first time you unscrew them.
I have found three options:
- To buy the smallest kind of Robertson square screwdriver (or for that matter any kind of screwdriver) and file it down to the size you need. This is by far the cheapest option.
- This listing on Ebay from Hong Kong (search for “1mm x 1mm Square
Screwdriver for Repair Polaroid SX-70”) This option is quite
expensive but it very nice and very high
quality.

- Finally this Ebay listing from Canada (search for: “1mm x 1mm Polaroid SX-70 Repair Tool Square Head Robertson - From Canada”). This option is by far the cheapest of the “proper” tools and the one that I recommend the most. I have taken apart quite a few SX-70s with it.

Of course you are also going to need some sort of drill tool with a small tip, you can do this with a Dremmel but I did it by hand since I feel that I have more control.
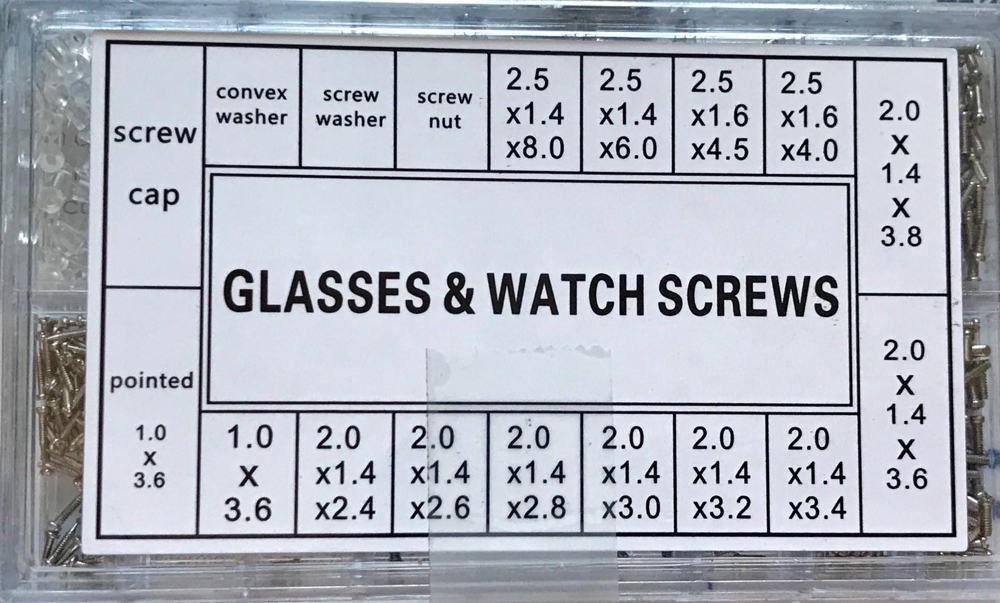
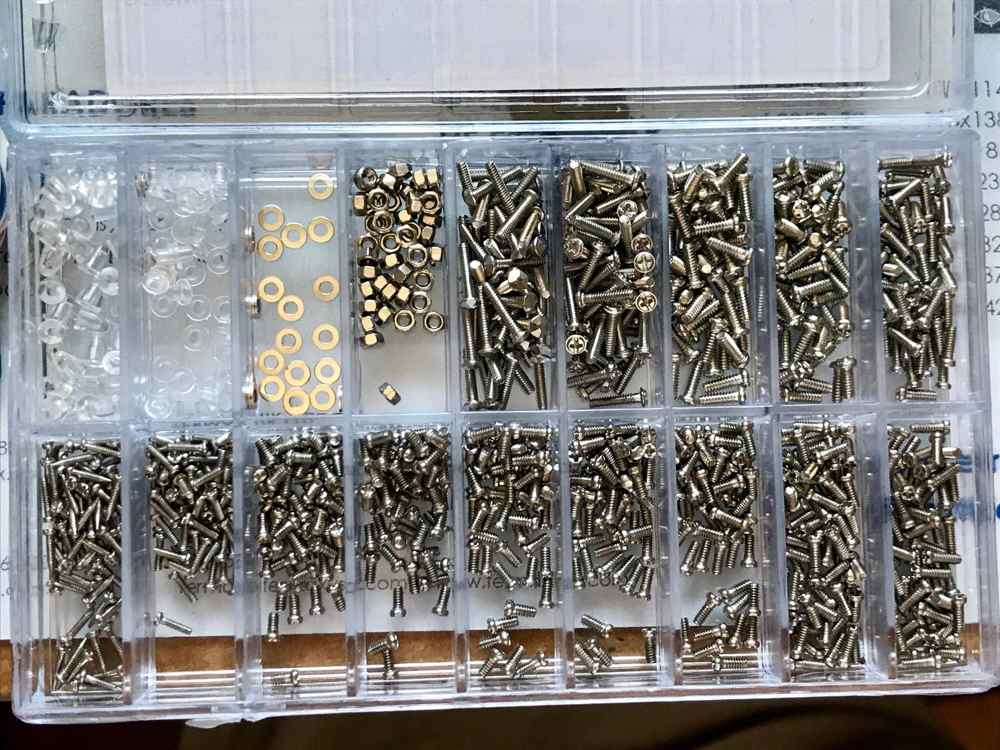
You also need some really small screws. I used this from Ebay.
Step 2: Disassembly
This basic SX-70 dissasembly, I am going to detail on a Sonar, if you don’t have a Sonar it the same.
You have to remove the skin of the bottom of the camera. People usually heat a bit the material and then remove it with a long pliers as like opening a can of sardines.
Then with the screwdriver you remove the four screws (do not attempt to remove the screws without the proper screwdriver).
You just then remove the cover with great care.
Step 3: Repair
(from manual)
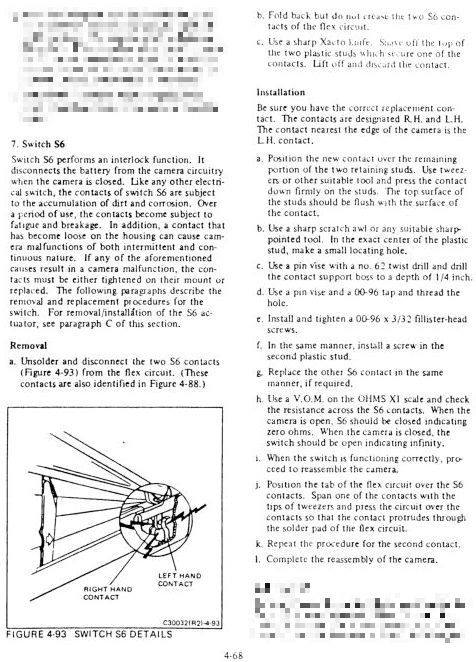
- Switch S6 Switch S6 performs an interlock function. It disconnects the battery from the camera circuitry when the camera is closed. Like any other electrical switch, the contacts of switch S6 are subject to the accumulation of dirt and corrosion. Over a period of use, the contacts become subject to fatigue and breakage. In addition, a contact that has become loose on the housing can cause camera malfunctions of both intermittent and continuous nature. If any of the aforementioned causes result in a camera malfunction, the contacts must be either tightened on their mount or replaced. The following paragraphs describe the removal and replacement procedures for the switch. For removal/installation of the S6 actuator, see paragraph C of this section. Removal
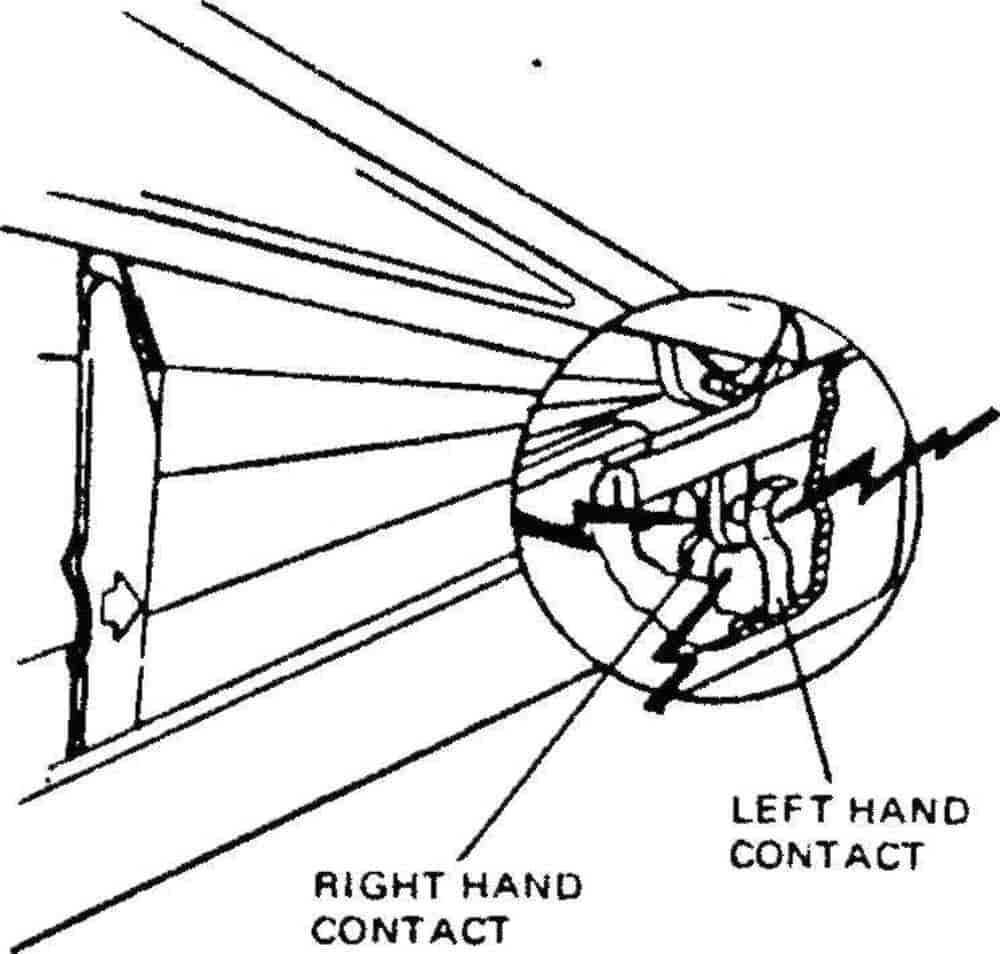
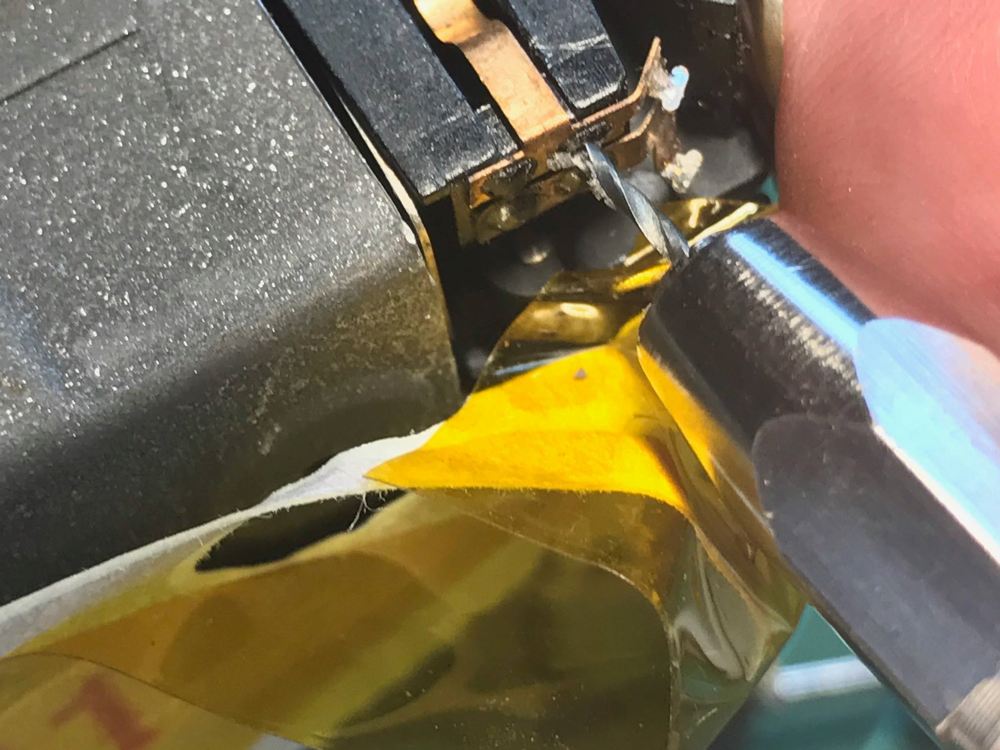
a. Unsolder and disconnect the two S6 contacts (Figure 4-93) from the flex circuit. (These contacts are also identified in Figure 4-88.)
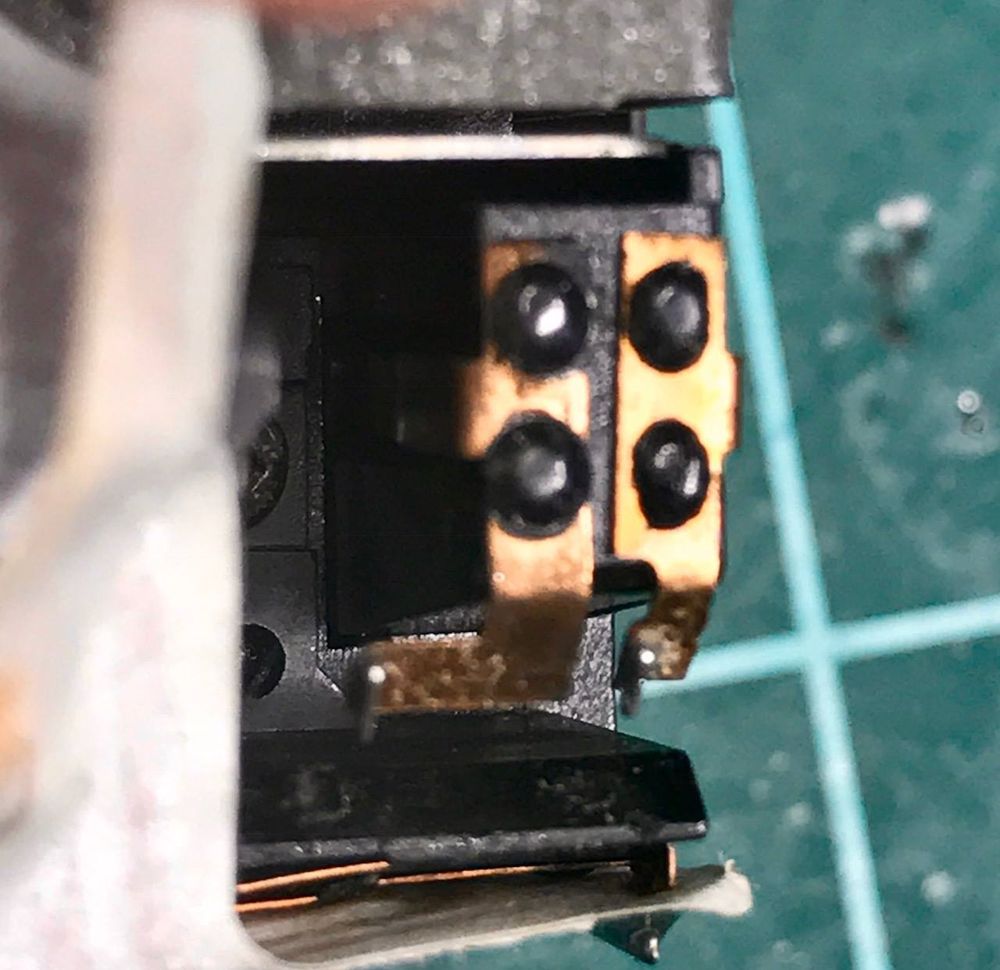
b. Fold back but do not crease the two S6 contacts of the flex circuit.
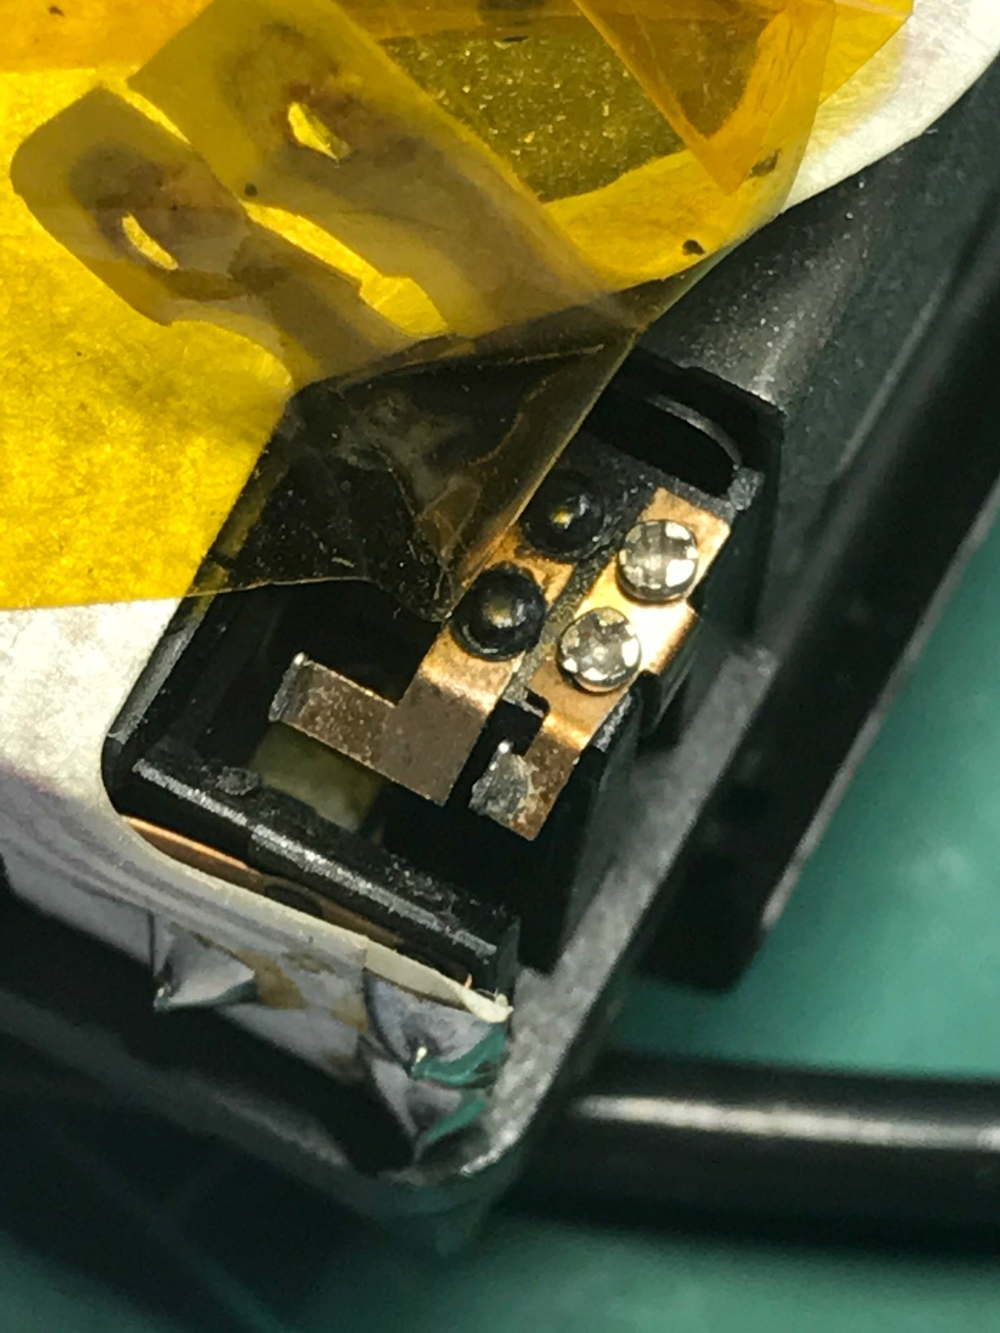
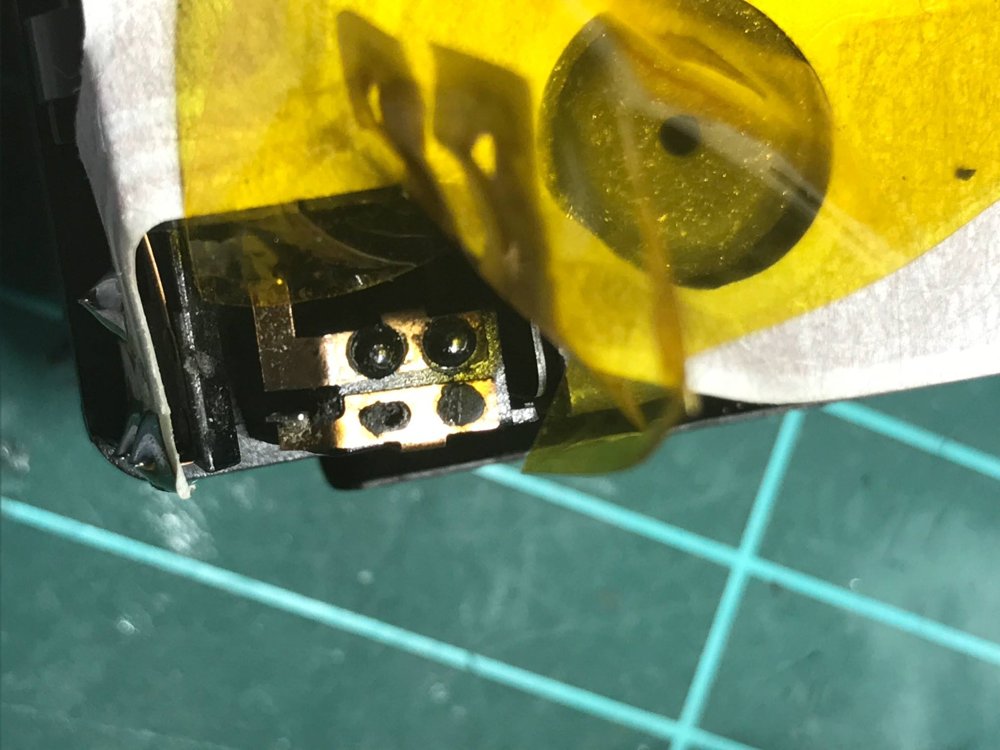 c. Use a sharp Xacto knife. Shave off the top of the two plastic studs which secure one of the contacts. Lift off and discard the contact.
 Installation
Be sure you have the correct replacement contact. The contacts are designated R.H. and LH. The contact nearest the edge of the camera is the LH. contact.
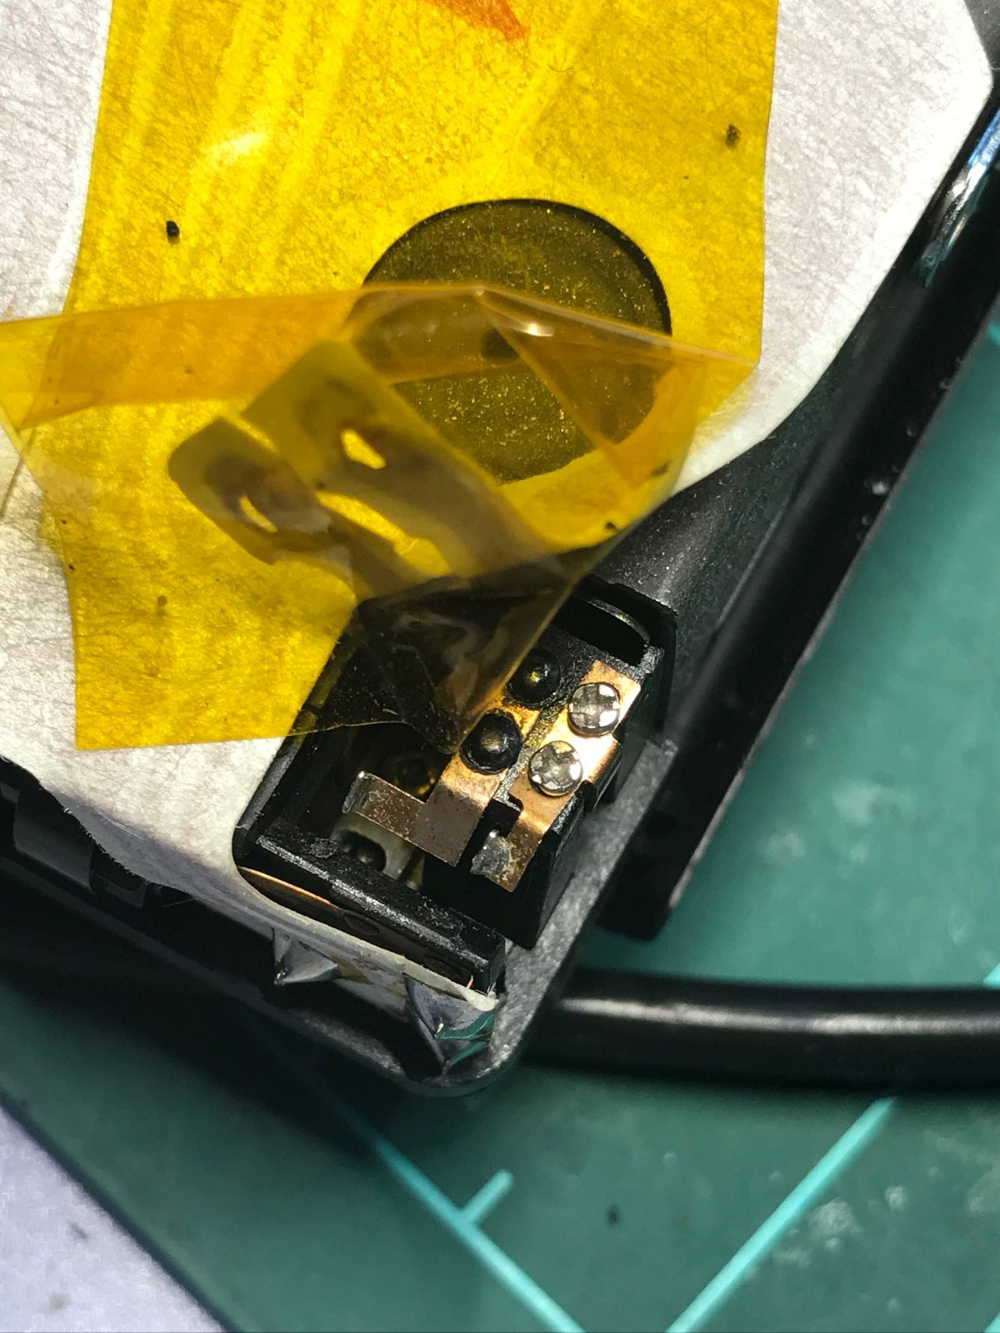
a. Position the new contact over the remaining portion of the two retaining studs. Use tweezers or other suitable tool and press the contact down firmly on the studs. The top surface of the studs should be flush with the surface of the contact.
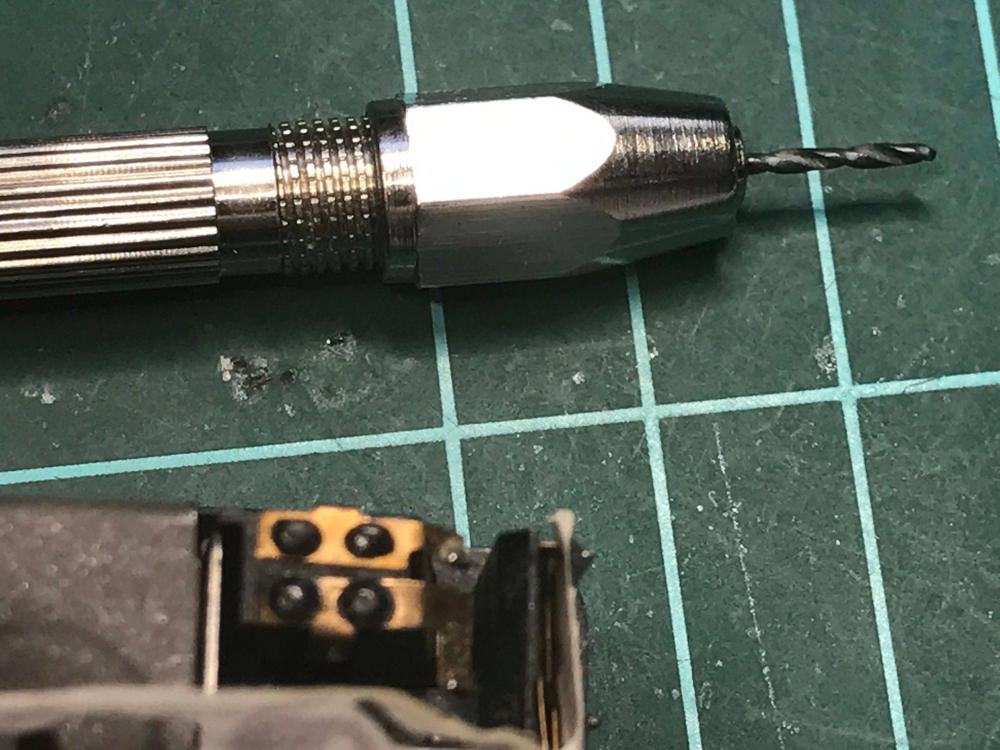
b. Use a sharp scratch awl or any suitable sharp-pointed tool. In the exact center of the plastic stud, make a small locating hole.
c. Use a pin vise with a no. 62 twist drill and drill the contact support boss to a depth of 1 /4 inch.
d. Use a pin vise and a 00-96 tap and thread the hole.
Installation
Be sure you have the correct replacement contact. The contacts are designated R.H. and LH. The contact nearest the edge of the camera is the LH. contact.
a. Position the new contact over the remaining portion of the two retaining studs. Use tweezers or other suitable tool and press the contact down firmly on the studs. The top surface of the studs should be flush with the surface of the contact.
b. Use a sharp scratch awl or any suitable sharp-pointed tool. In the exact center of the plastic stud, make a small locating hole.
c. Use a pin vise with a no. 62 twist drill and drill the contact support boss to a depth of 1 /4 inch.
d. Use a pin vise and a 00-96 tap and thread the hole.
 e. Install and tighten a 00-96 x 3/32 fillister-head screws.
f. In the same manner, install a screw in the second plastic stud.
g. Replace the other S6 contact in the same manner, if required.
e. Install and tighten a 00-96 x 3/32 fillister-head screws.
f. In the same manner, install a screw in the second plastic stud.
g. Replace the other S6 contact in the same manner, if required.
 h. Use a V.O.M. on the OHMS XI scale and check the resistance across the S6 contacts. When the camera is open, S6 should be closed indicating zero ohms. When the camera is closed, the switch should be open indicating infinity.
 i. When the switch is functioning correctly, proceed to reassemble the camera.
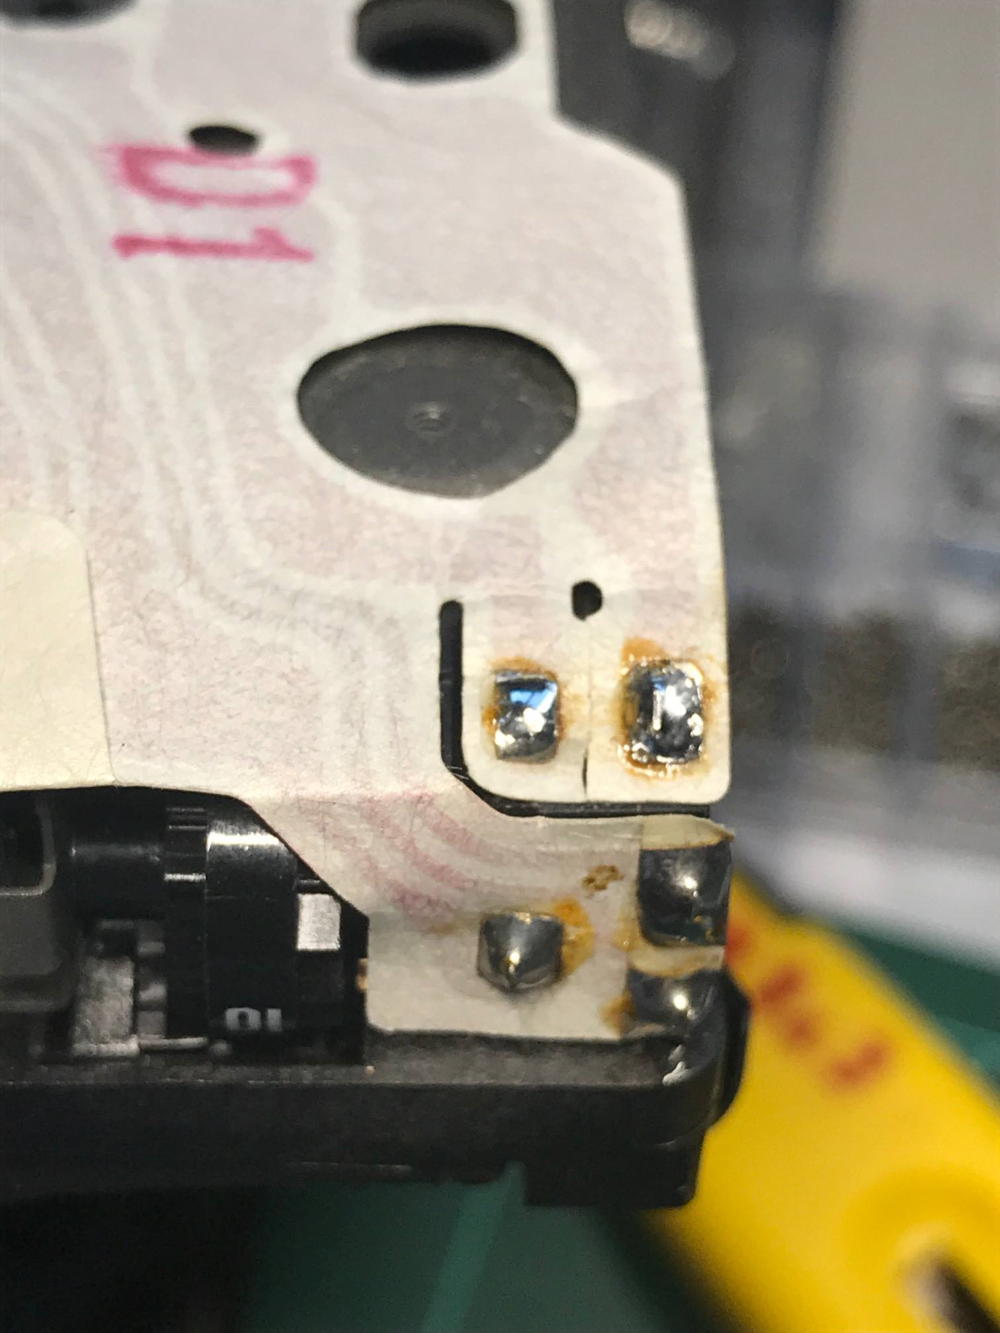
j. Position the tab of the flex circuit over the S6 contacts. Span one of the contacts with the tips of tweezers and press the circuit over the contacts so that the contact protrudes through the solder pad of the flex circuit.
k. Repeat the procedure for the second contact.
l. Complete the reassembly of the camera.
i. When the switch is functioning correctly, proceed to reassemble the camera.
j. Position the tab of the flex circuit over the S6 contacts. Span one of the contacts with the tips of tweezers and press the circuit over the contacts so that the contact protrudes through the solder pad of the flex circuit.
k. Repeat the procedure for the second contact.
l. Complete the reassembly of the camera.
Tutorial by Joaquín de Prada/Version 2.0 08/28/2018
APPENDIX
http://www.sx70store.com/tienda/reparacion-y-mantenimiento/conversion-a-600-sx70-detalle.html
https://www.2ndshotsx70.com/repairs
I don’t know if MiNT camera in Hong Kong will do the modification, but they have the amazing SLR-670 in their different versions, and that is the most awesome (sorry for the word) SX-70 ever.
Comments