G-I-V-E-A-W-A-Y-!
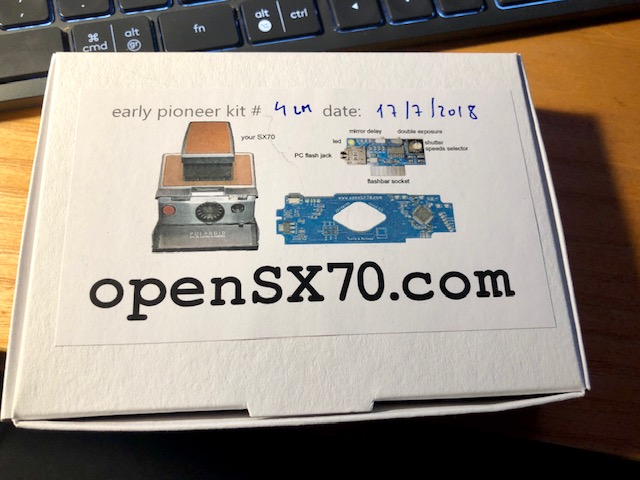 Yes, yes I am doing a giveaway to a fortunate reader of this page. Details later, down below.
As many know I have decided to change the light metering system for the auto mode in the openSX70 camera. I mainly though that the BH1750 was slow and inadecuate for our purposes.
In the end I have chosen a photodiode which is very similar to the original component in cameras.
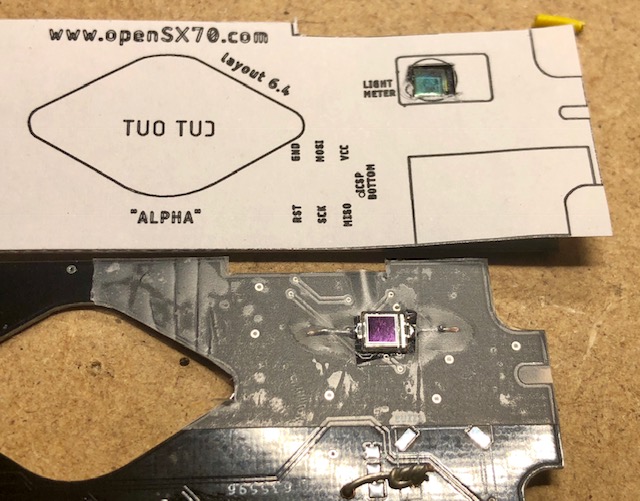
Where you can see the original and the test mock-up for the new.
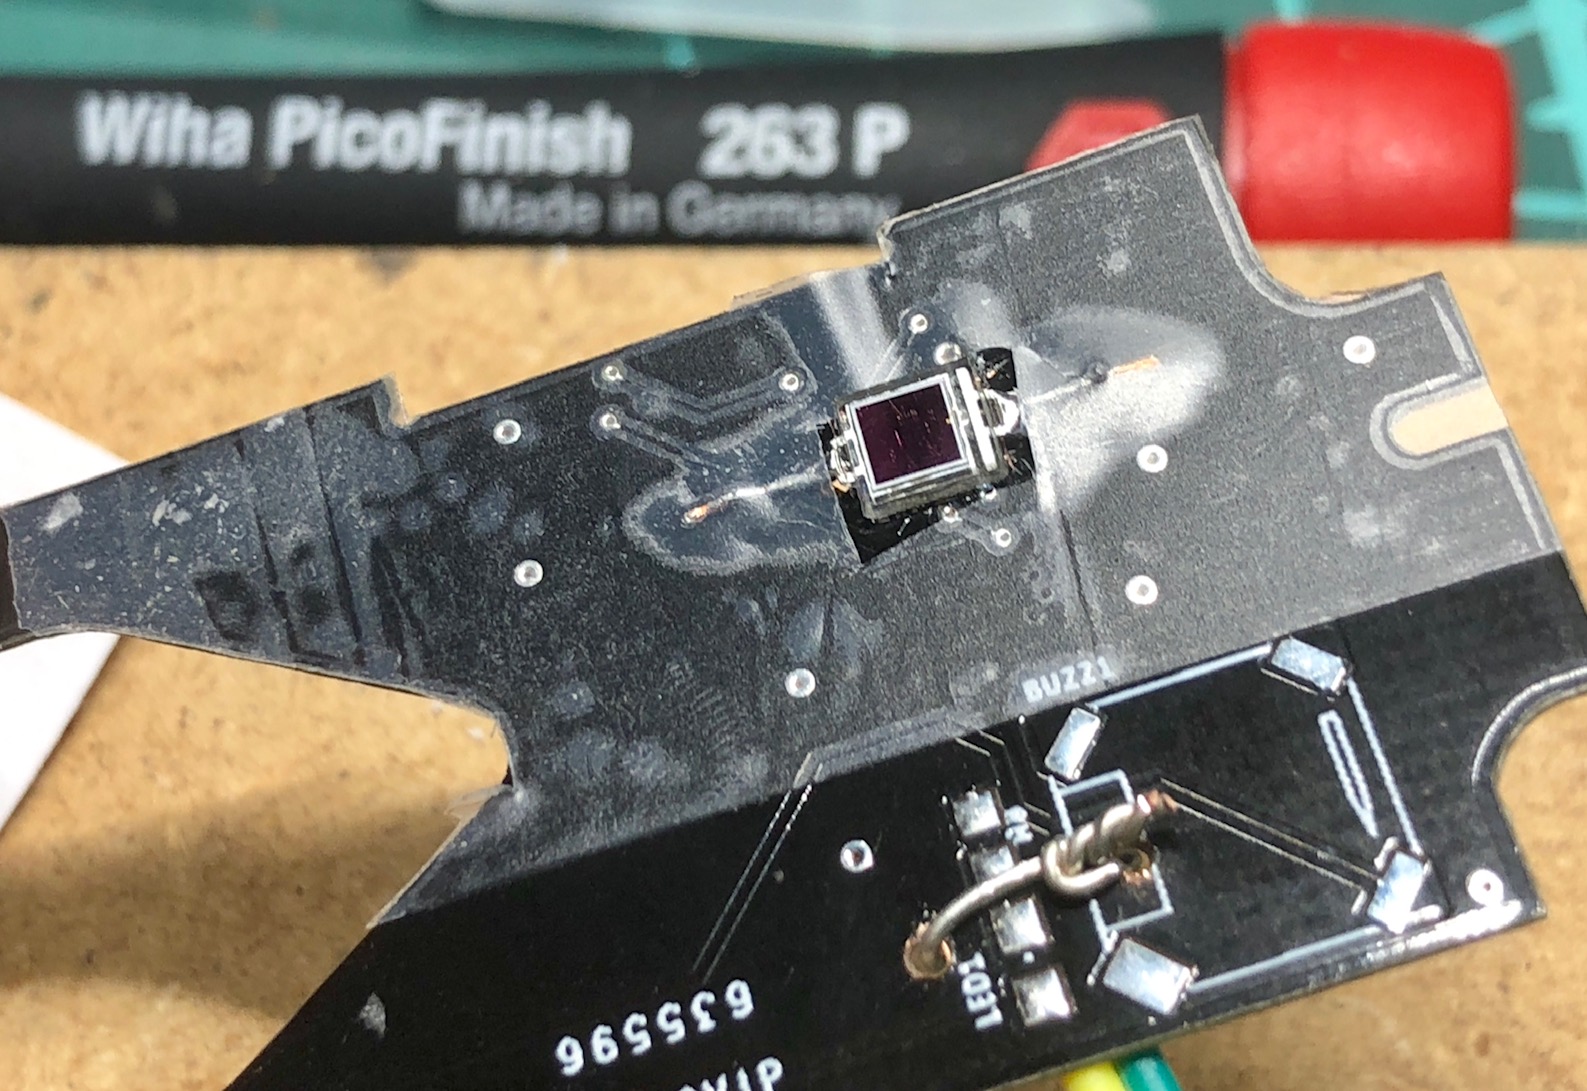
Tests are very encouraging.
I have also been playing with the LED location. The reason being, that later sonar cameras have an LED to indicate low-light and that can be seen in the VF.
In this picture you can see the red LED timidly showing behind the main PCB.
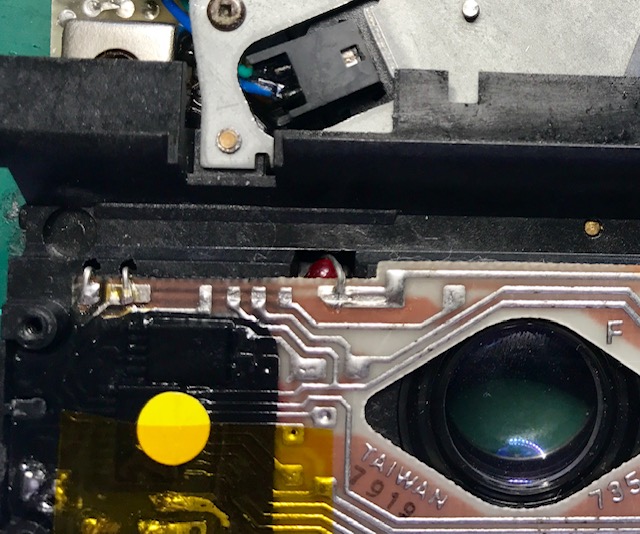
So I found the bi-color really small LED (0603) and tested on an old PCB.
While all this was going on (and much more, dongle work, sonar tests), I was trying to make a major rehaul of the main PCB, maybe geting ahead of myself. So I steped back a bit and did a modification based on the latest working PCB: Pathfinder.
This new PCB layout 6.2.x is an evolution, but has a lot of minor and not so minor improvements.

On the top side you can see the LED up on the right of the flash assembly (FFA). I have extended a bit the PCB in hope that it will fit. The location is more or less as in the sonars. (But in the sonar is a completely new PCB on the other side of the frame).
Also can be seen the resistors that complement the photodide. Probably not all three are needed (R11, R14, R15) but I wanted to be on the safe side. Turns out that depending on the value of that resistor connected to the photodiode you can change the sensibility of the photodiode. With the help of Marco from AnalogThings I decided to be in the range of 200lux to 350K lux. I am not clear of the value of the resistor (or the photodiode) that I will use. But that doesn’t affect the layout (I hope).
I have also “improved” the connector where the flatcable from the camera is connected, but quite franky I even wonder if that is noticeable. The last small-big change on top is the connection of the 1-W line to the FPC (the small flat cable to the USB programmer). The reason being that Marco has come up with the idea of an integrated USB-dongle on top of the camera. So this way we don’t have to mess with the flash connector and everything is tidier.

The bottom obviously has the new photodiode. I have made a wide pads so I have room to wiggle and place it exactly right in relation with the camera. Nevertheless I will run some tests before manufacturing. I have also made like a white part so I can write stuff.
So If you are with me still let me tell you about the giveaway. I have a bunch of kits. Those (being Lens and Bellows and Pathfinder) turn out to be exactly the same. These are manual-exposure only.
I have decided to give to (at least one, maybe more) lucky reader these kits. To be elegible to the ramdom draw you have to register on the website. I hope to be able to run surveys asking what you think or where you want the project to steer to. I won’t bug you, you don’t have to give your name if you don’t want to. You can register your camera! This is handled by [MailChimp)(https://mailchimp.com/en/).
Then once registered you have to place a comment down below stating the reasons why you think you are elegible or what you would to with the kit. These are scarce and I want each to “count” (and please no resealling).
Keep in mind that the modification is not easy. That you need special tools, and not only a sondering iron but soldering skills.
The kit comes with everything you need to modify your Alpha (remember only Alpha non-Sonar at this time) heck, I might even throw in a custom screwdriver. You can find instructions on the tutorials section of this web.
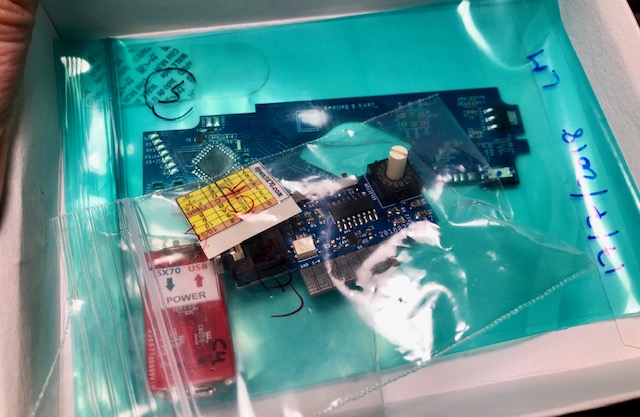
For clarification the giveaway comprises ALL you need to convert your ALPHA SX70 into an openSX70 MANUAL-ONLY camera: 1 main PCb, 1 Udongle, 1 USB adapter, a couple of flat cables and the instrucctions. ALSO a square custom screwdriver.
Good luck!
Comments