The Meroë prototype

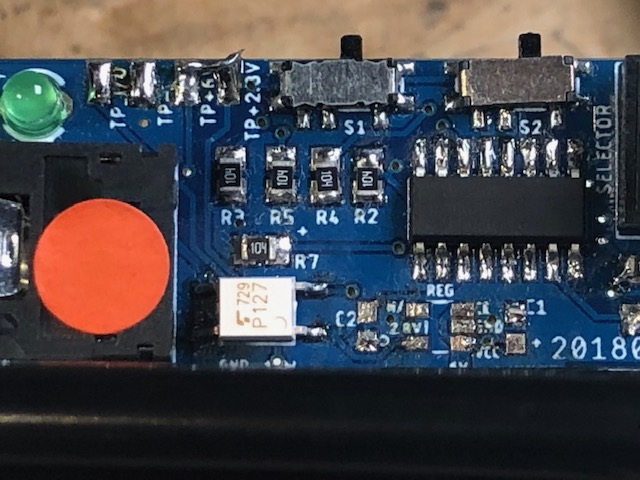
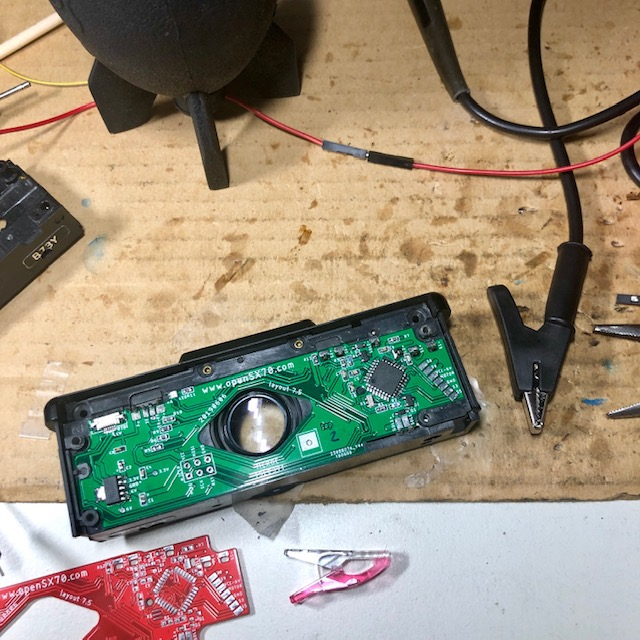
So I have finally found the time to buiid an openSX70 camera with the new Meroë pcbs and the TSL237T light sensor. That sensor belongs to the same family of the 235 that I used before but it has a smd footprint and is twice as sensible. The new “intermediate” pcbs accomplish major milestones:
-
S2 is connected to an input both analog and digital, that allows for other types of dongles.
-
Voltage is set at 3.3V but with a new more efficient regulator.
-
Many decoupling capacitors are in place to provide stability.
-
Flash operation now runs at 3.3V.
-
As a consequence of the previous, there is no need for a 2.8V regulator in the dongle, making that simpler.
-
New bi-led location, making that more visible in the viewfinder.
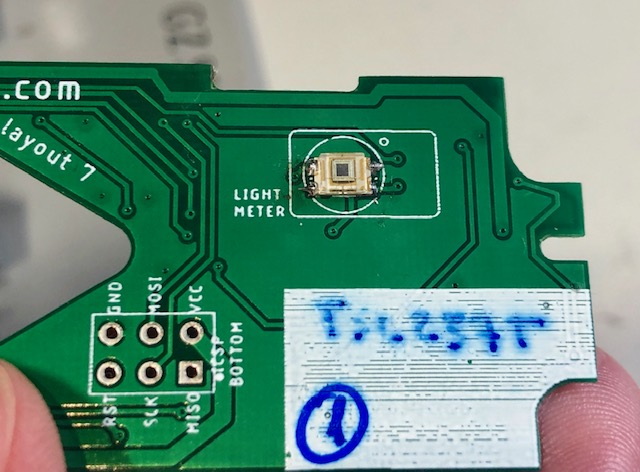
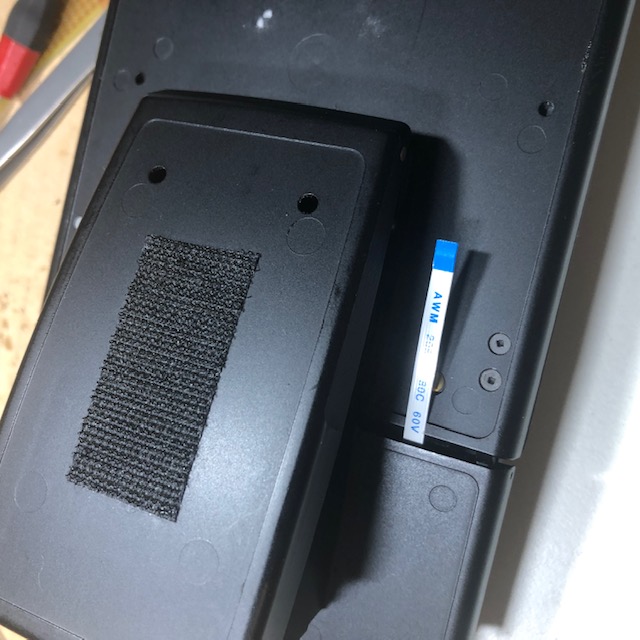
 (here’s the uDongle with C1, C2 and the regulator removed)
Many of those are just the lessons learned in the alpha reworked pcbs.
I am testing a similar light sensor, but twice the sensitivity and SMD form factor: the TSL237T.
I am very happy with the results, I think the light sensor works better and I am fine tuning the software in two key areas, low light indicator red led for auto mode, and exposure prediction light meter. This mode, working in manual let you use the built in sensor as a light meter, looking through the viewfinder, red ligt is too little light, longer exposure needed, blue light means too much light, faster exposure needed, if both LEDs are off, it is correct exposure. Of course that is only a suggestion since you are in manual mode. The camera can of course work in auto mode without the dongle, and you can do that at both ISO100 and ISO600.
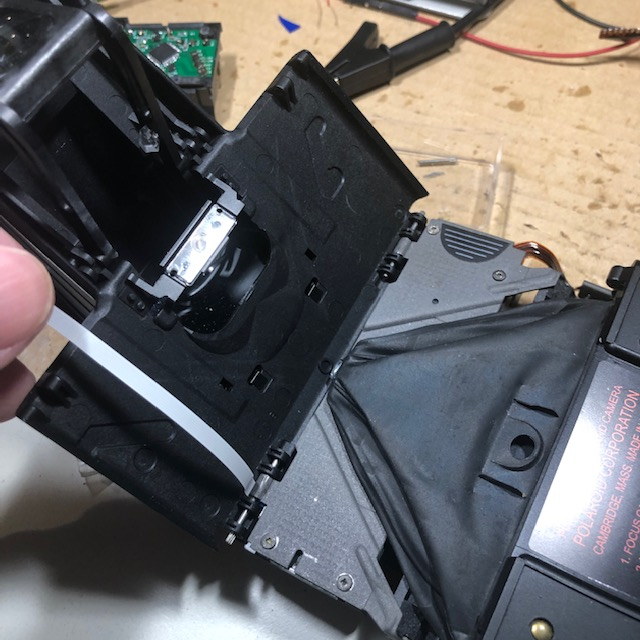
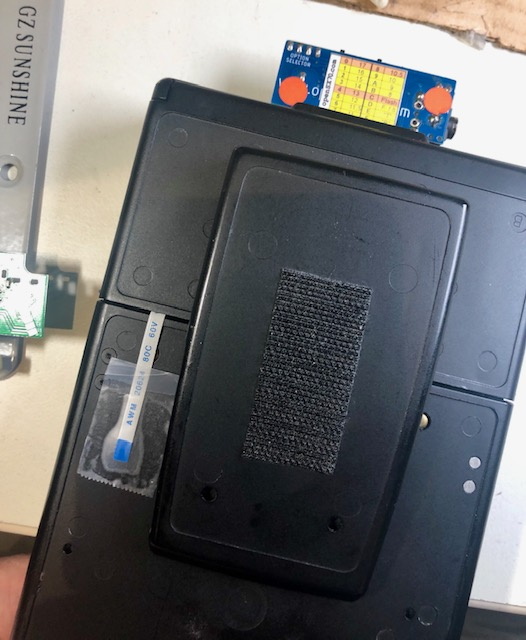
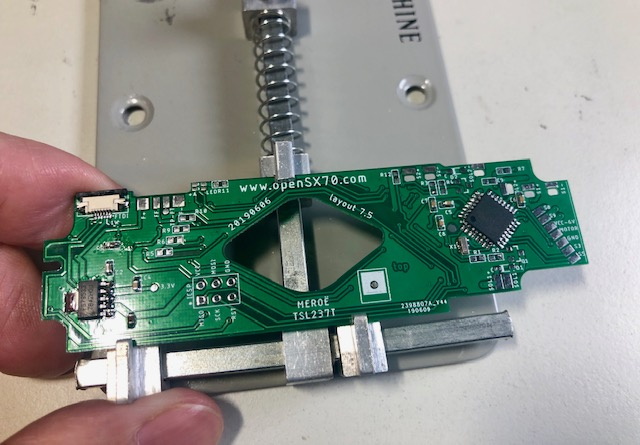
 (testing a new way to route the cable I use while debugging the prototype, it is only needed to upgrade the camera)
All the other characteristics still remain
-
multiple exposures
-
Self timer by double clicking
-
Extra mirror delay (now by default )
-
Flash jack in the dongle for studio lights at full f.8
-
flashbar compatible
-
T and B positions, B with optional flash triggering at the end while engaging solenoid 2.
-
No special setting for flash, flash triggering by default in many shutter speeds.
I have been hand building the 5 test pcbs that I have ordered. But pending further investigation in the future, I think the design is validated and a major milestone, it is “manufacturable” as even though the light sensor is not recommended for new design, it is readily available and it is not like we have to manufacture that many.
Even thought it is, as I say a very important accomplishment, I still shoot for a few more improvements, that I will cover in a future post soon. Since the sensor has 2x sensibility I figured I could get away by jus doubling the magic number. That seems to be quite on the mark, at least for SX70 film. It is reassuring when things work the way they are supposed to.
I want to thank Dave for his support that is helping me move forward without giving away too much, well, at least that’s what wished it would be. I want to pretend, or at least hope to be learning a lot.
It is hard work for me to assemble the pcbs, but I hope to be able to make at least 3 more.
Finally some sample pictures:
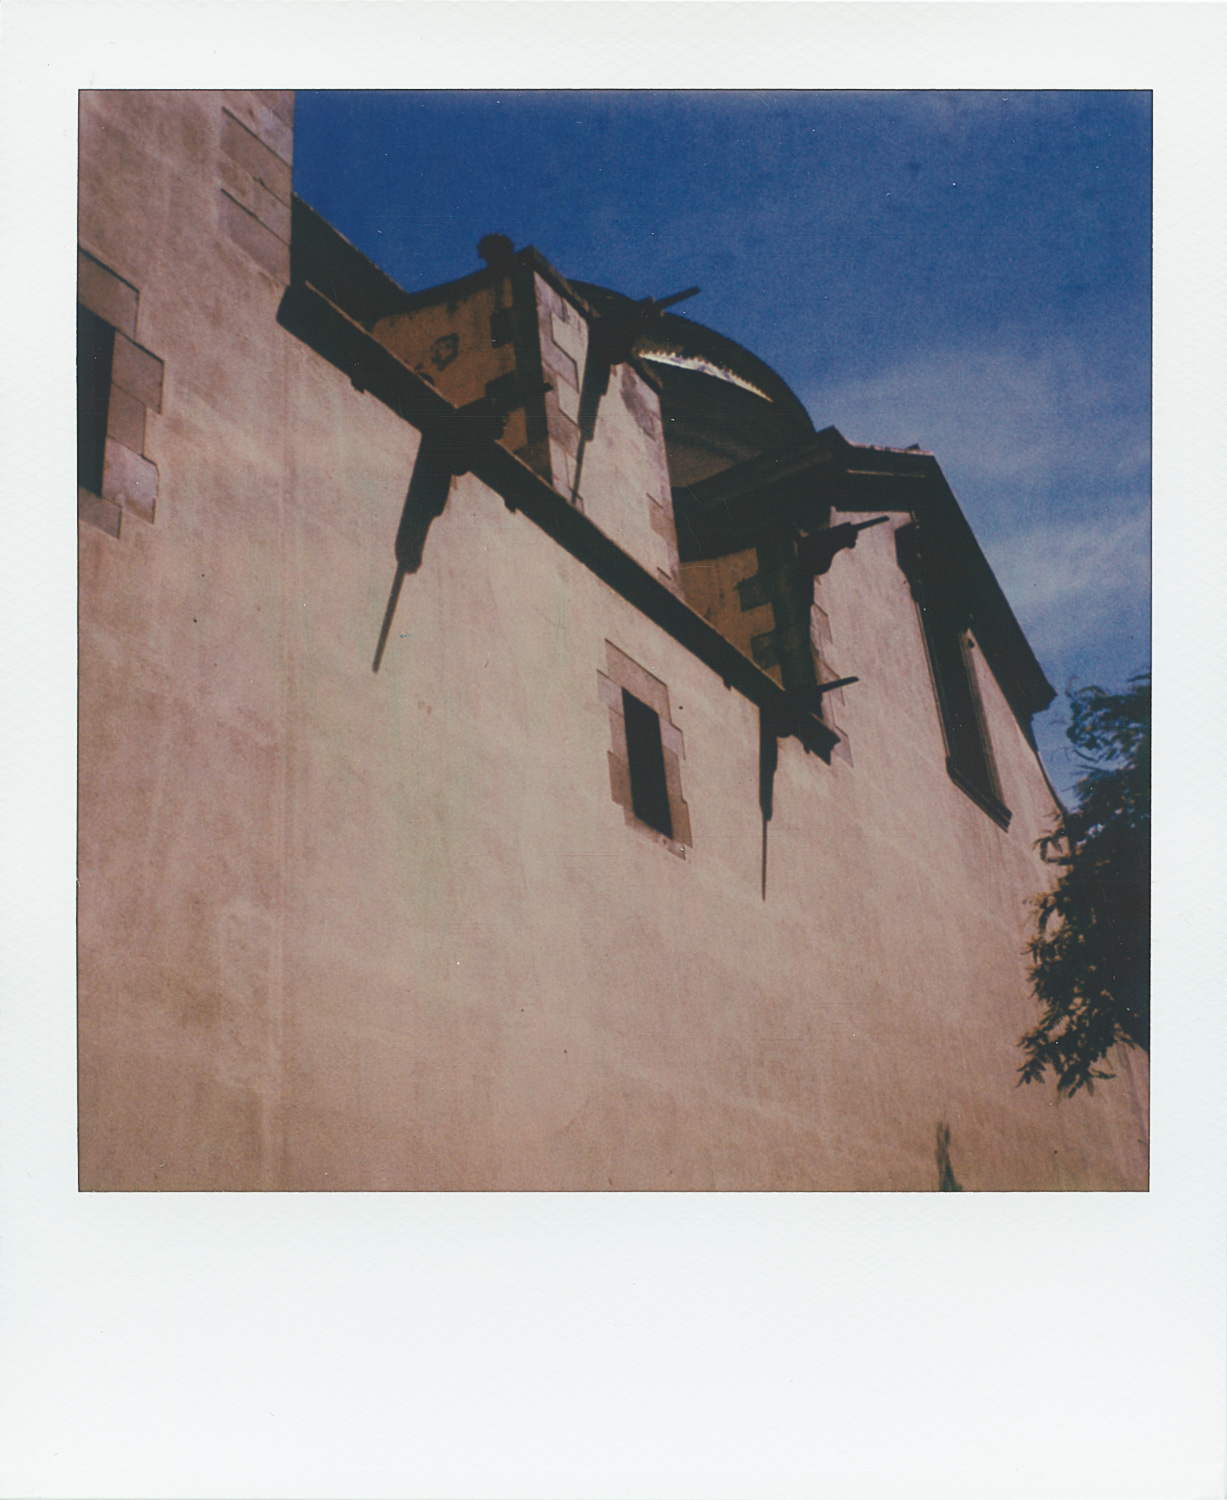
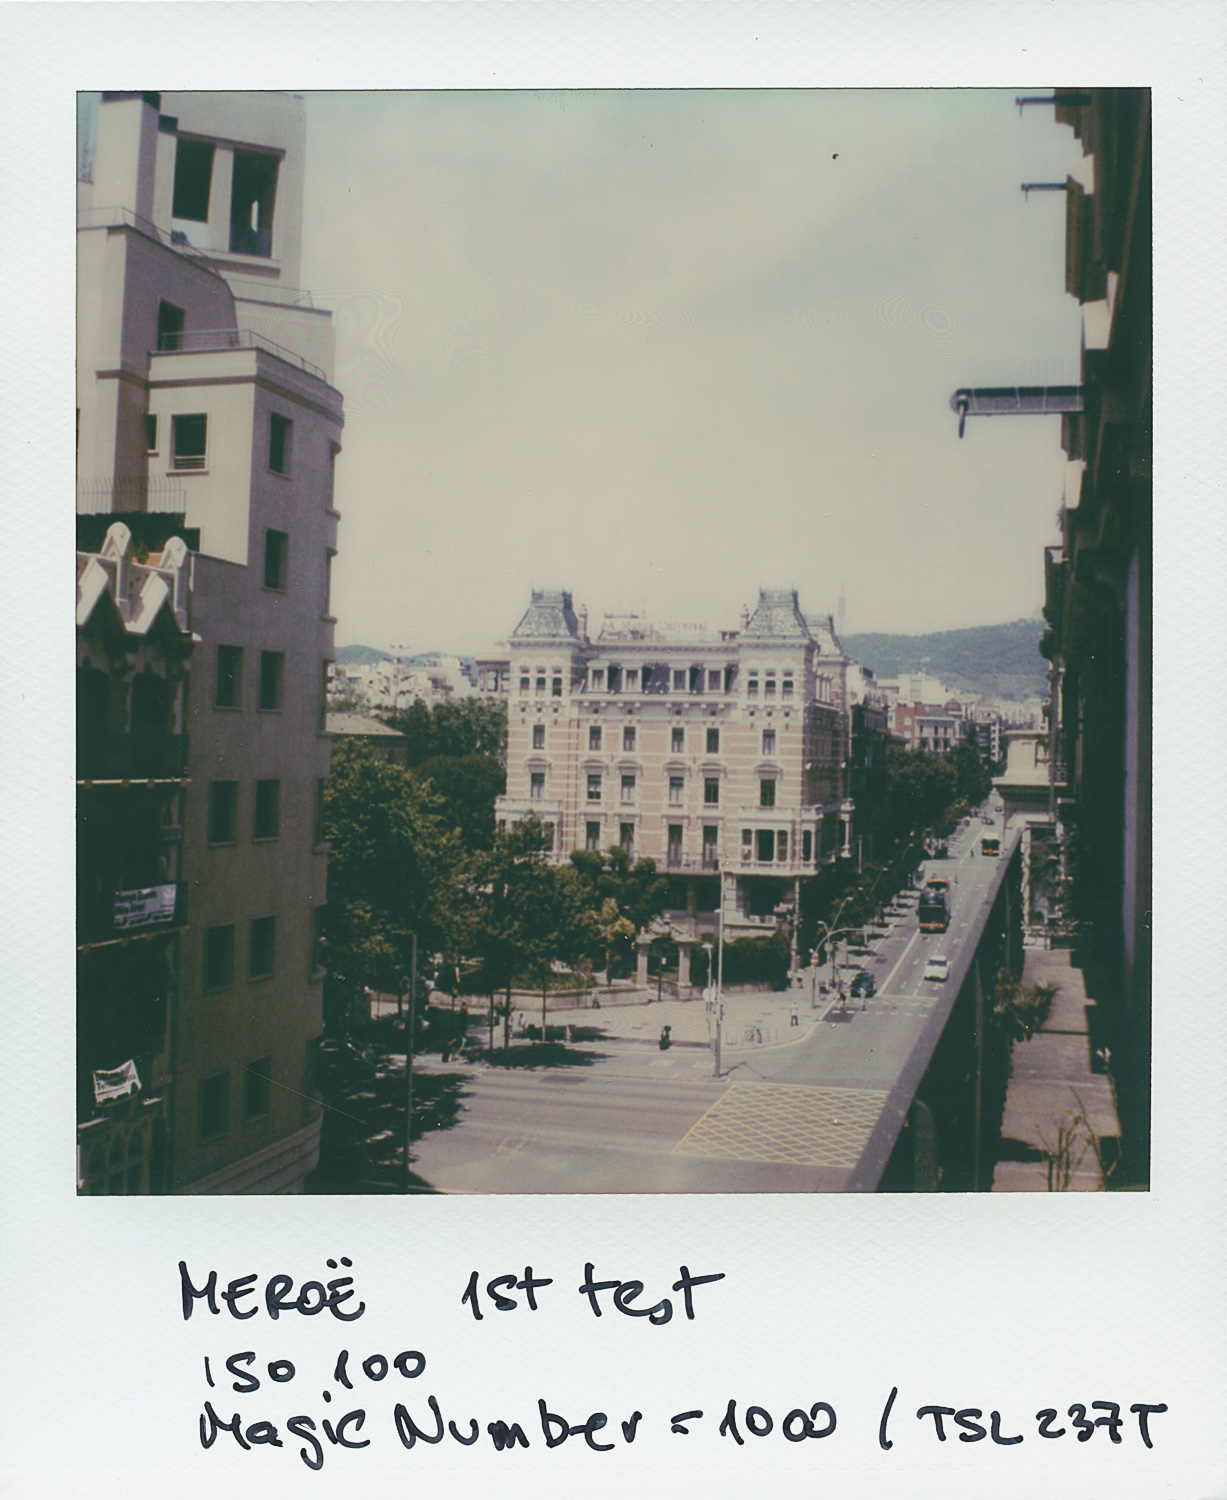 (first shot AUTO mode ISO125 film magic number=1000)
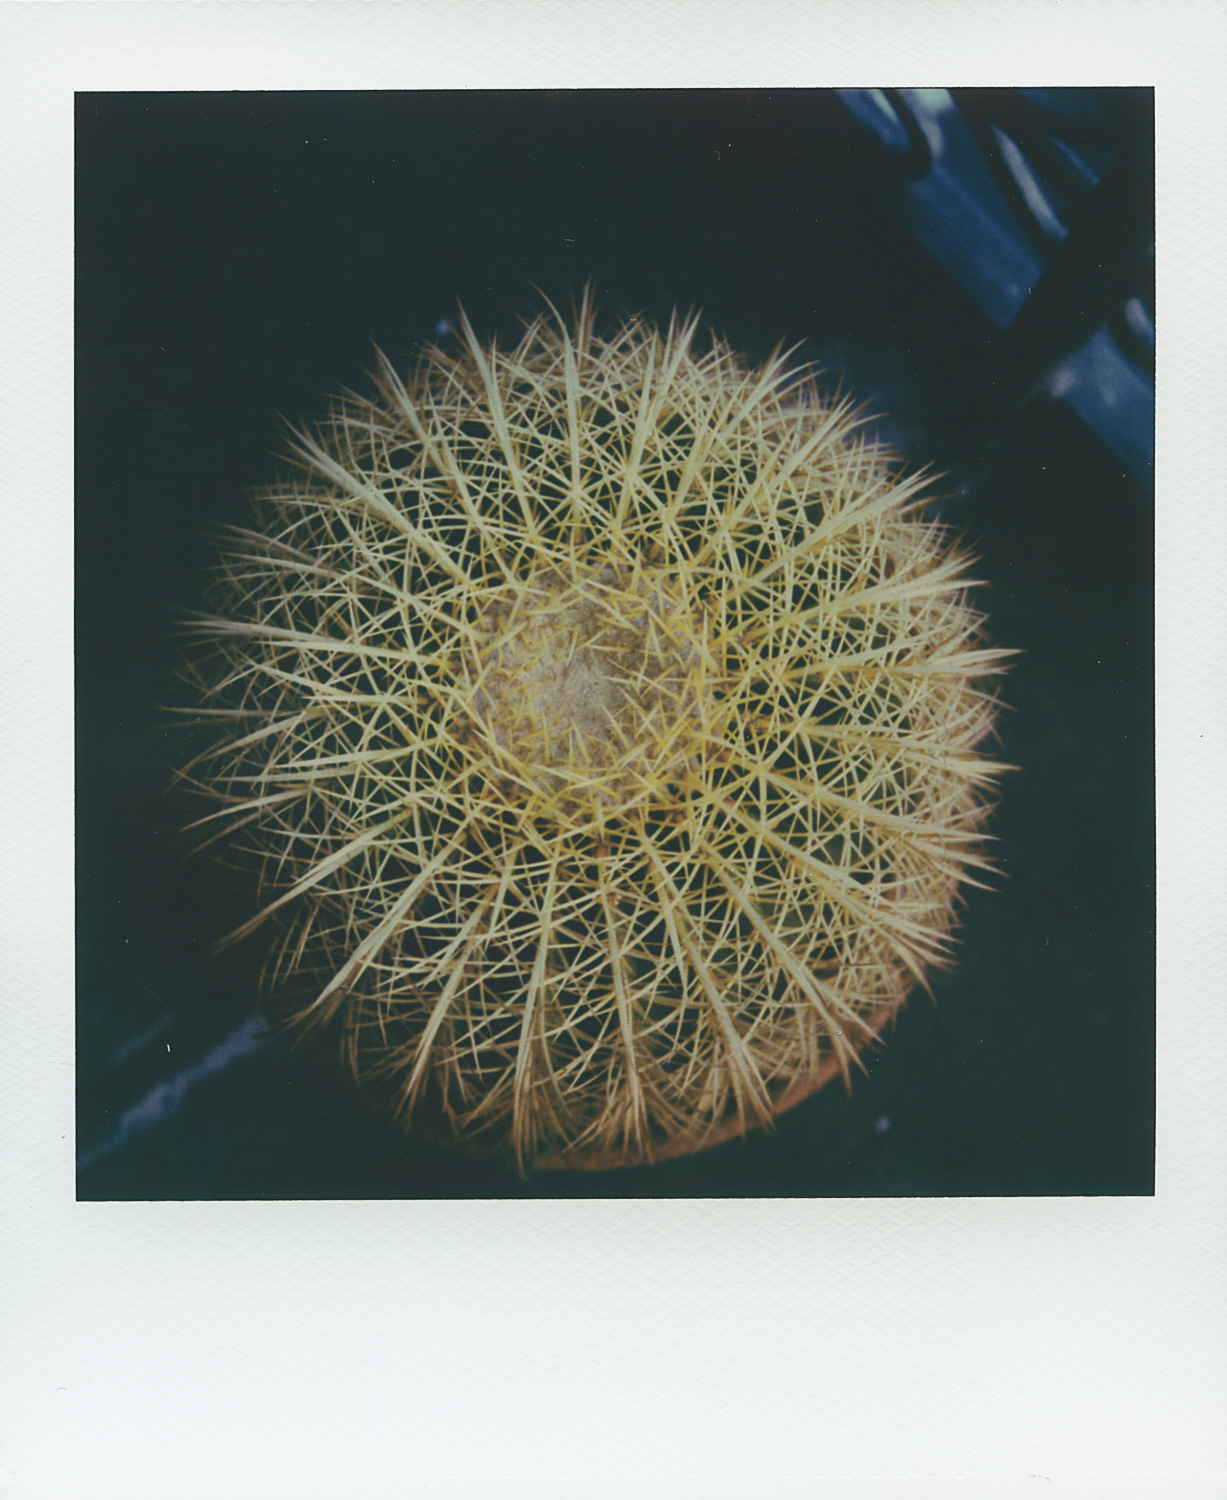 (manual exposure, meassured EV10.4 close to the cactus)
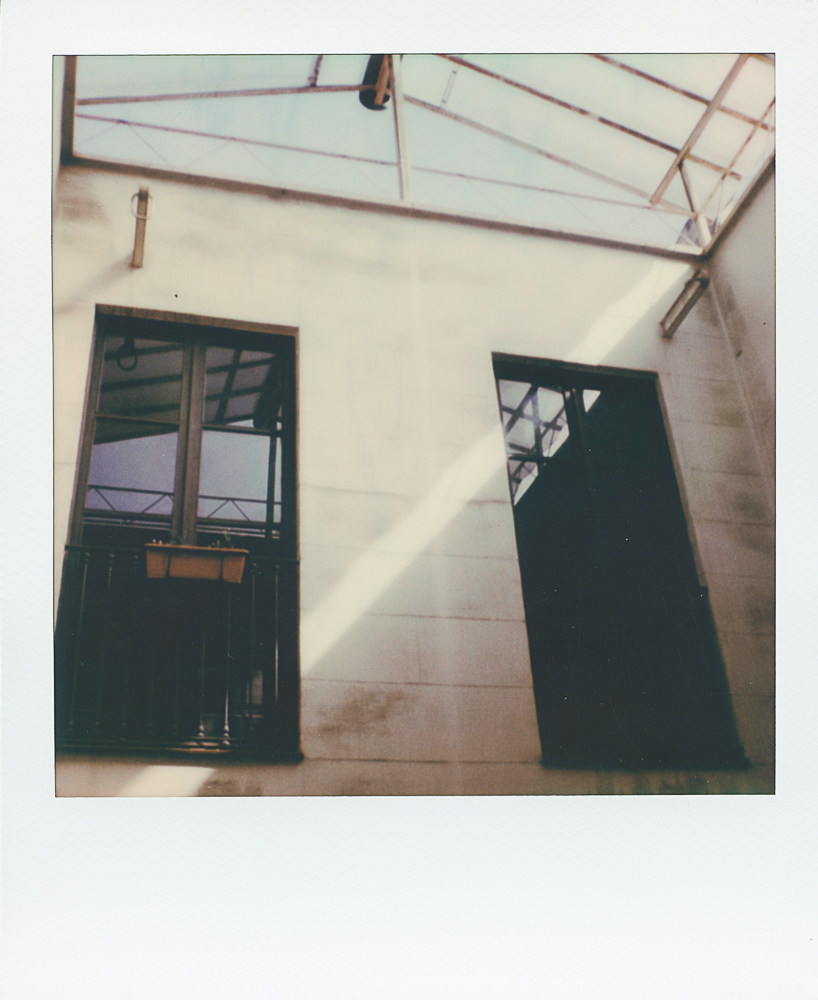 (another auto shot same number)
So now the priority is building a working nice-looking practical dongle. And let me tell you, what is coming along is very very cool.
Comments