Flash with openSX70
This is the definitive openSX70 flash guide, that I will keep updating in the future.
Note 1: I want to make two parts about openSX70 flash, this is going to be practical, and in the next I will try to dig into the (open)SX70 flash operation.
Note 2: Those of you that have followed my project know that what I call dongle-flash, that is, having a PC-flash socket on the dongle has been part of the plan from day 1. OpenSX70 has been the first manual SX70 with a flash socket.
Note 3: If you see different types of sockets for flash operation in my different uDongle designs, keep in mind that functionally they are all exactly the same, so it can be like the original Prontor-Compur “PC” connector, but those are both hard and expensive to find, and also hard to integrate into the PCB design, so nowdays it is usually replaced with a 3.5mm jack or a smaller 2.5mm jack. I have used all three of them in my designs. You just need the proper cable to make it work.
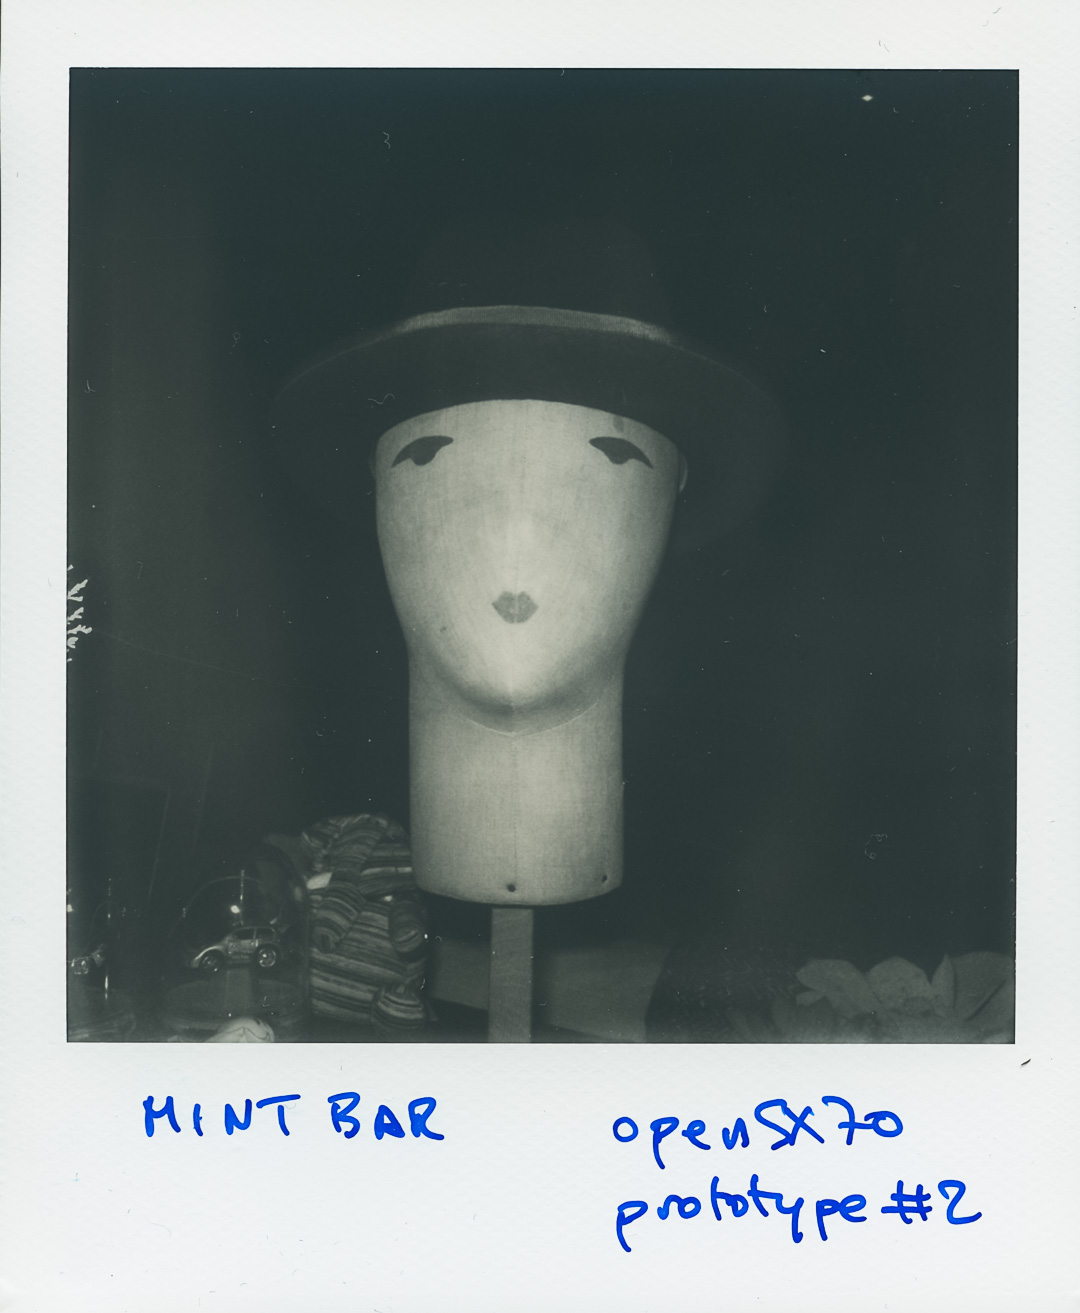
There are two main ways to shoot flash: with an electronic SX70 flash, like the awesome MiNT flashbar or with a external flash. Of course you can also use the original flashbars, but keep in mind that those are too powerful for 600-type film. Also, keep in mind that with electronic flashbars you need the low power setting with 600. Usually MiNT flashbar is not as bright as the flashbars, but it is good enough, and is definitely more convenient. There are vintage equivalents to the MiNT bar.
Basically operation of the openSX70 camera is very similar to the original SX70, proably closer to the original cameras, as later models had some sort of integration/fill-flash mode.
In my case, I just open the shutter, wait 40ms and trigger the flash, operation of the solenoid 2 for close-up photos is as it expected, the closer you are to your subject, the smaller the aperture.
void FlashBAR()
{
  analogWrite(Solenoid2, 255);
  shutterCLOSE ();

  mirrorUP();   //Motor Starts: MIRROR COMES UP!!!

	while (DebouncedRead(S3) != HIGH) //waiting for S3 to OPEN
    ;
  analogWrite (Solenoid2, 130);
  Ydelay ();   //S3 is now open start Y-delay (40ms)

  shutterOPEN ();

  delay (40); //this is the exp. time 40ms+2ms+overhead
  digitalWrite(FFA, HIGH);
  delay (2);
  analogWrite (Solenoid2, 0);
  digitalWrite(FFA, LOW);
  delay (20);

  shutterCLOSE();

  delay (200);
  mirrorDOWN ();
  delay (200);

  shutterOPEN(); //back in viewfinder mode

  return;
}
The first picture in this post is an example, and here is another early example.
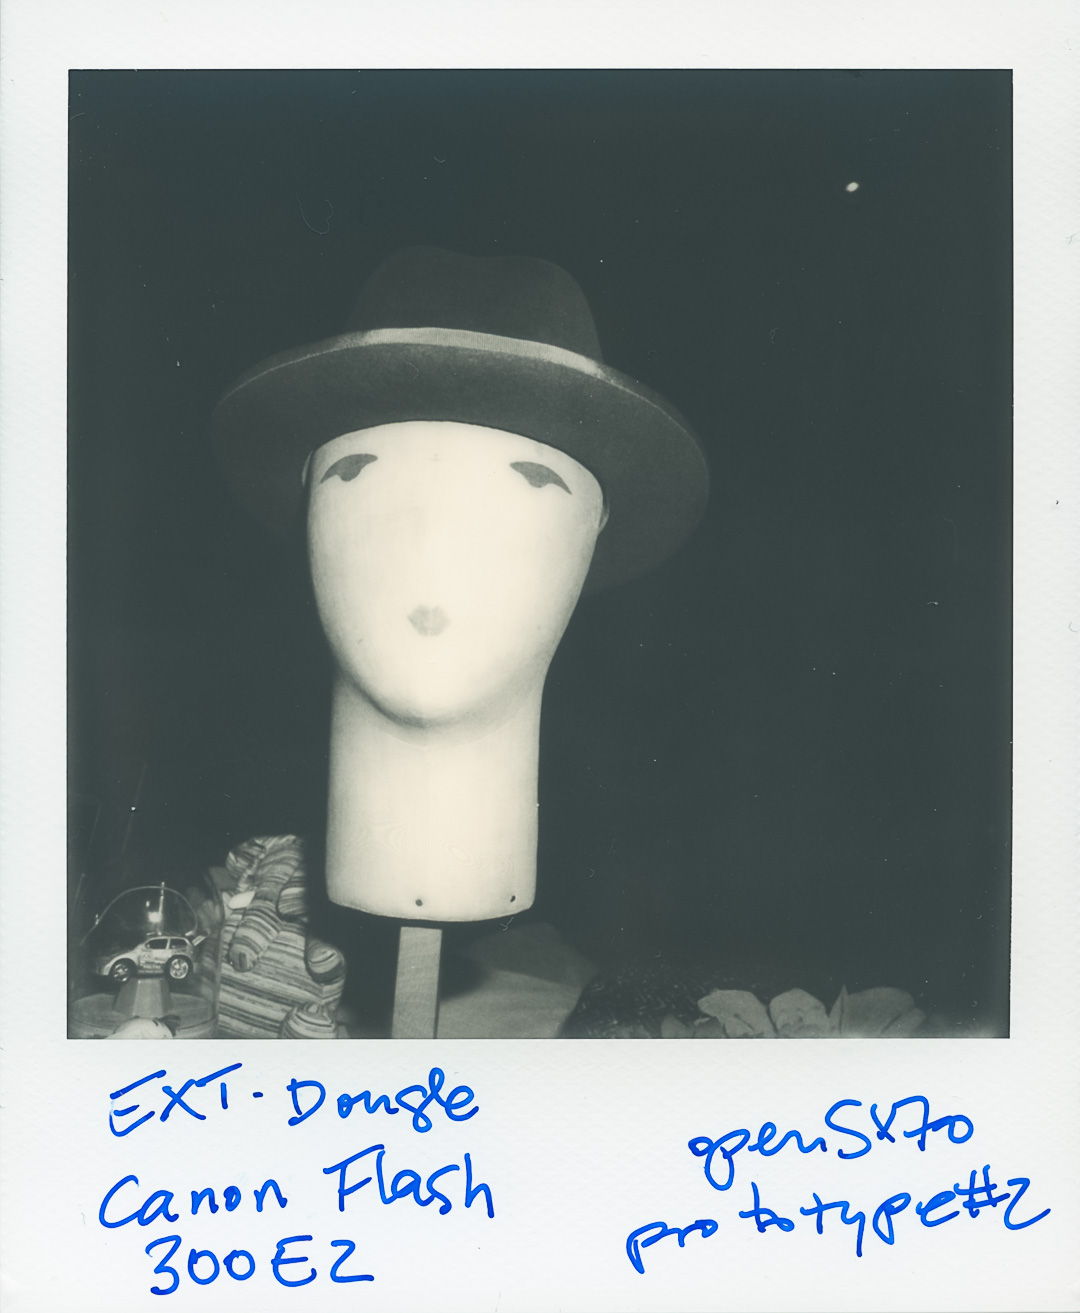
But of course all the fun is in shooting with an external flash, strobes, wizzards, whatever. I have been told that very fast strobes don’t work to well with the film. This is due to the reciprocity failure due to short exposure duration.
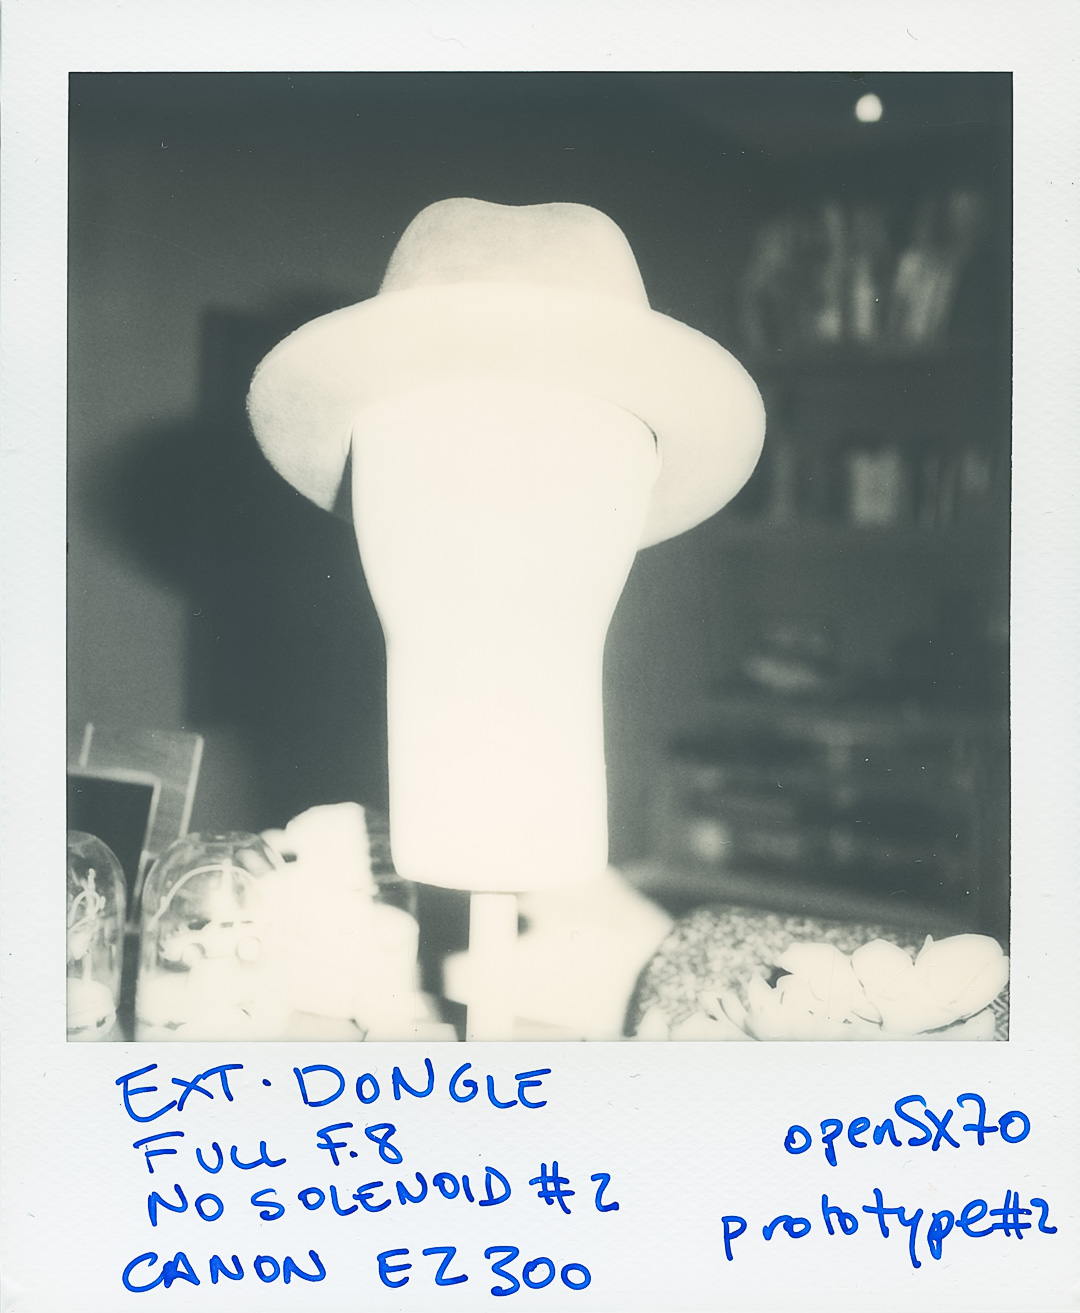
The cool part about the openSX70 is that I can avoid engaging the solenoid 2, and, for me, that makes all the sense in a “professional” type of setting. What happens of course, when you do that, is that you have take into account the Guide Number of your flash (that refers to “studio strobes”, “on-camera flashes”, “electronic flashes”, “flashes”, and “speedlights”) and if you don’t you are going to blow your pictures, again some examples:

External flash operation in the openSX70 camera syncs at EV14 (1/260th) and slower speeds. You have to set the speed you want. Whatever speed you have chosen, I just trigger the flash before I send the shutterCLOSE command.
I am not going to explain to you here how to take flash pictures. I like this video about it.
It all has to do with, not only the flash output, but the aperture, the ISO, and of course, the distance to the subject.
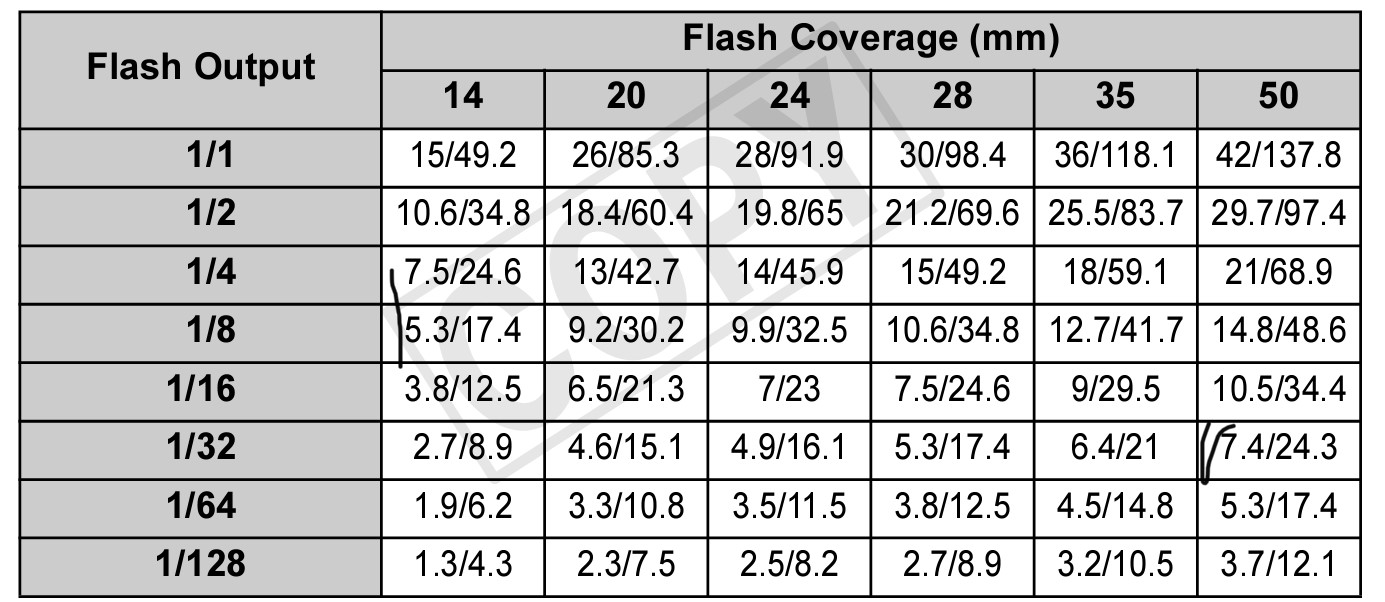
As a practical case, I use the Canon RT600 EX flash. The guide number for 1/1 is 42 (I assume the lens in the camera is equivalent to a 50mm 35mm lens). Flash has different output intensities from 1/1 (full power) to 1/128.
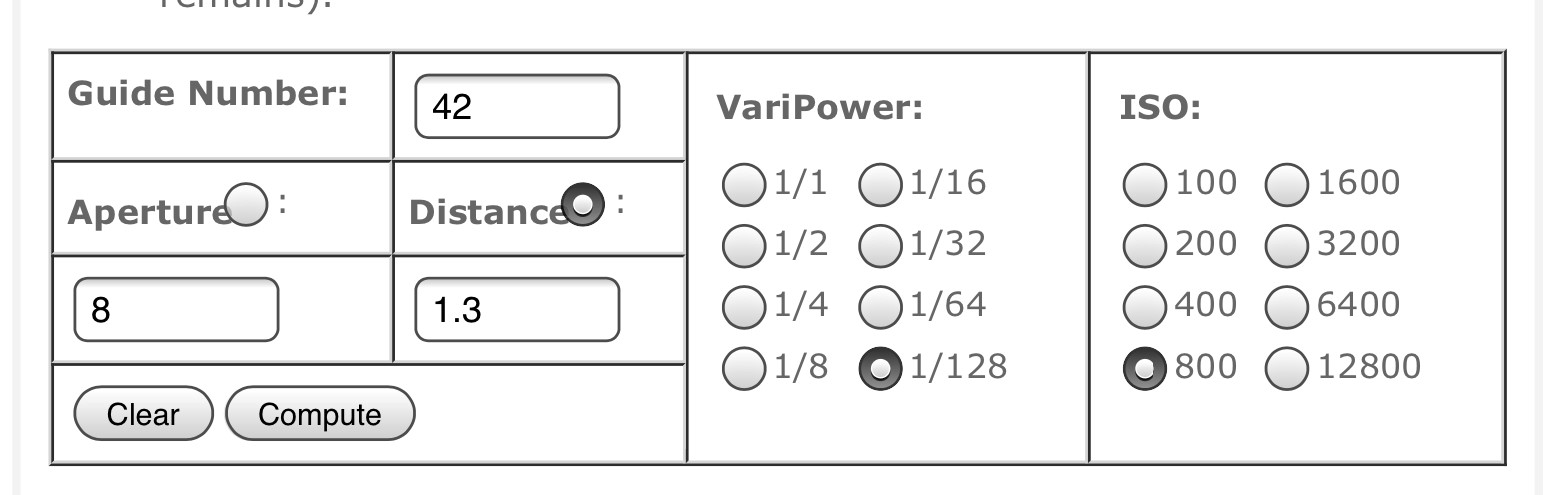
So using an online calculator and assuming an ISO between 400 and 800, a know aperture f.8, and my distance (1.3m), I could figure out that I needed to set up the flash for 1/128.
And, (isn’t it nice when things work the way you expected?) I got a perfect picture at a closer distance than before of my bookshelf.

So next thing I want to do is test the camera in a proper studio, with studio lights and everything.
Of course, keep in mind that you can always wiggle with the shutter speeds, and that can affect backgrounds etc…
And one more thing, as you can see in the last video, you can use external flash also with B. In this case it will trigger the flash when you release the button. This makes the setting optimal for light painting for instance. In this case I thought you might want to engage solenoid 2 (only case in dongle flash). We would do that by turning on switch 2.
This is an example I took a while back:

Comments