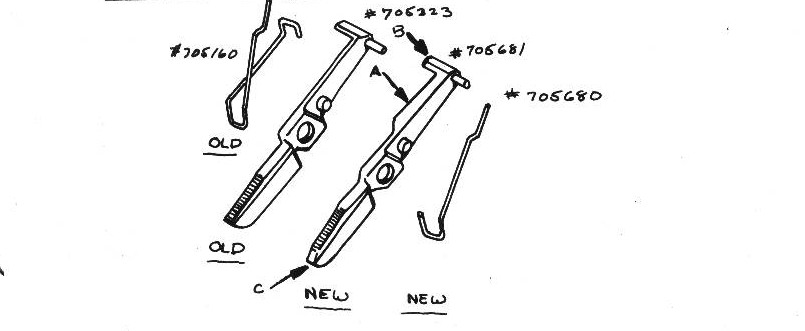
The latch part 1
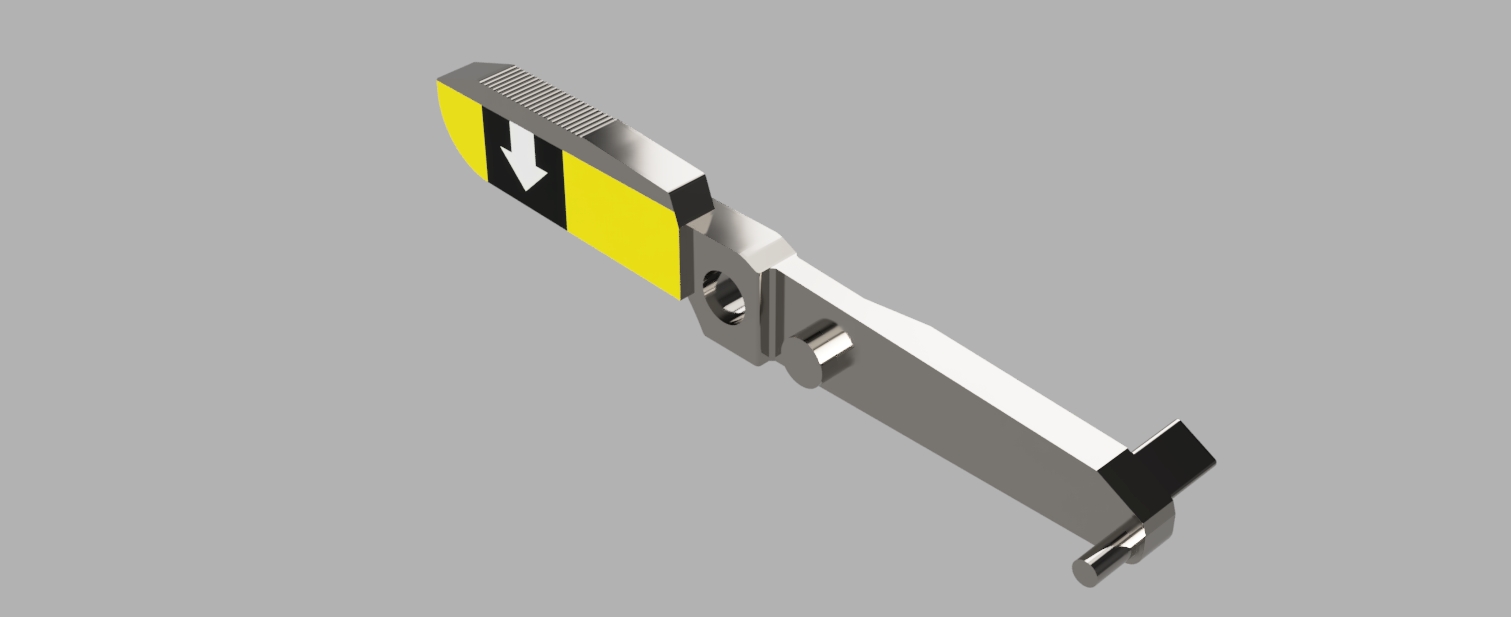
This is a render of the latch of an SX-70. You probably seen it, it is also known as part number 705223 and previously known as 705681. It has a corresponding spring. Read on see how I got PCBWAY to manufacture this part for me, and maybe for you in the future. Evaluation and actual trial of the part will be in the upcoming part two.
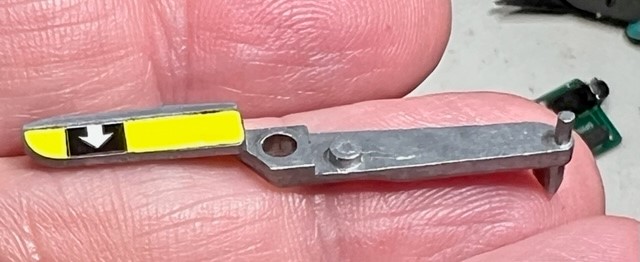
Here, you can see it in my hand for scale. It is part of the gear-train of the camera, and keeps the front cover closed.
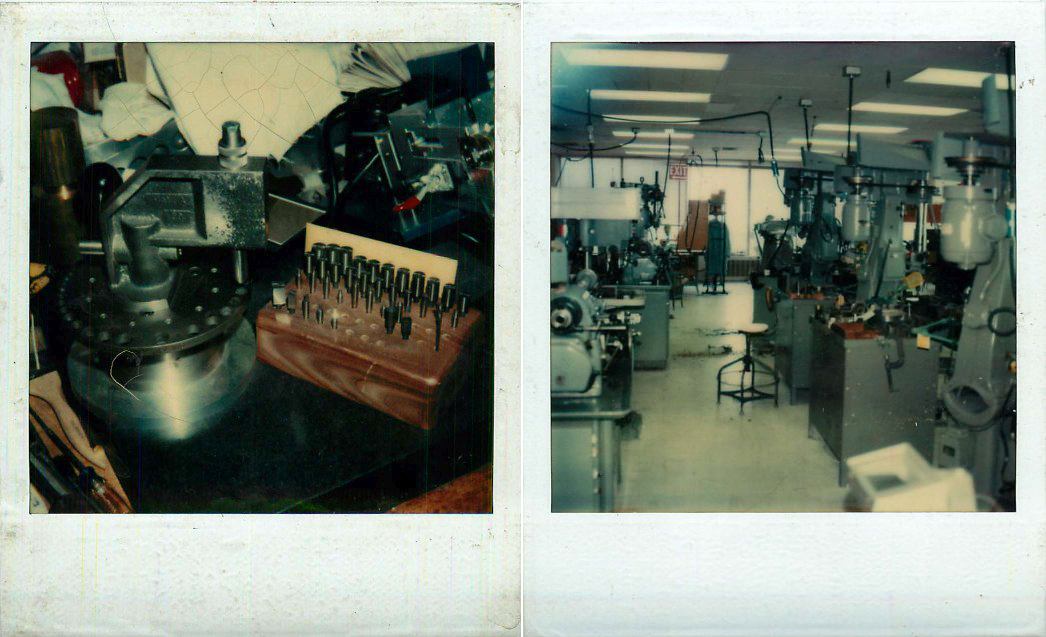
It was probably prototyped by Leonard Dionne in the Model Shop on the ninth floor. We have these amazing pictures of the shop thanks to Mark Dionne, the son of Leonard. Designing and prototyping the part probably took those expensive machines and quite some effort.
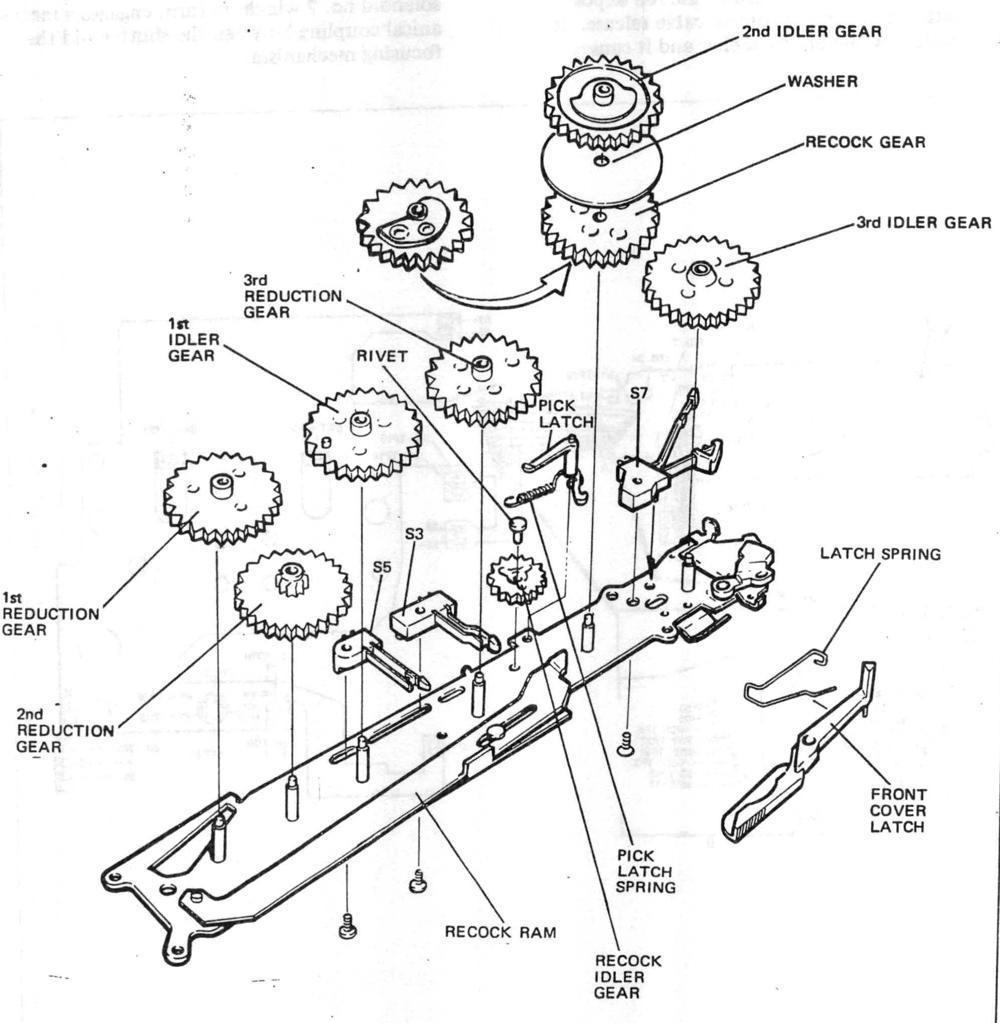
The part, made out of cast aluminum, breaks a lot, in fact is one of the most requested spares. When broken makes the camera unusable because you cannot keep the front cover (film door) closed. That is probably why they eventually came up with the new design.
Sometimes it amazes me the world we live in, and I mean the good stuff. That a part that needed a shop and expensive hardware to be designed and manufactured can, nowdays be easily reproduced by someone like me with zero 3D design experience, well, blows my mind.
So as a consequence of the fact that I had to “subscribe” to EagleCAD, when I wanted to design a 4-layer PCB for the new ECM boards I had bundled Fusion360. Thruth be told there’s a free version of Fusion360 that can probably accomplish the same.
I am not going to do a detailed tutorial on how to do that, there’s lots of them in YouTube, just be careful to pick a recent one that uses the new UI of the software.
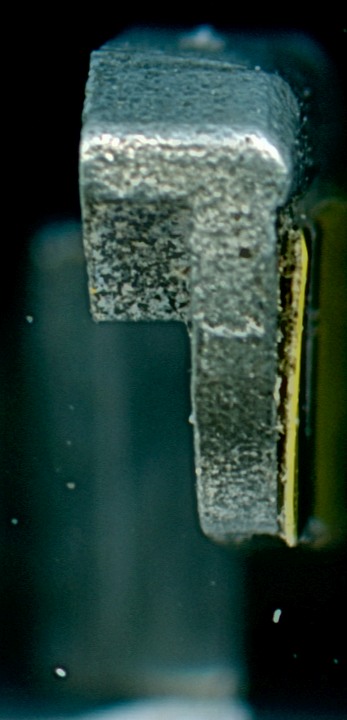
In my case I start by taking close pictures of the part from all angles.
tip:
 rear:
rear:
 bottom:
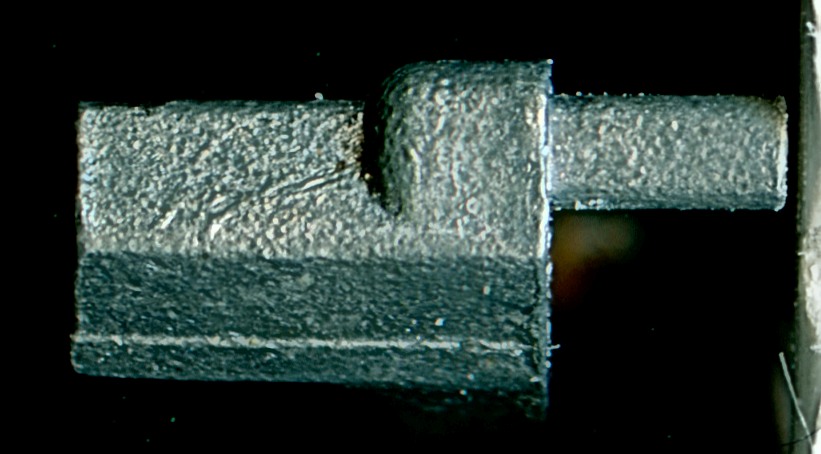
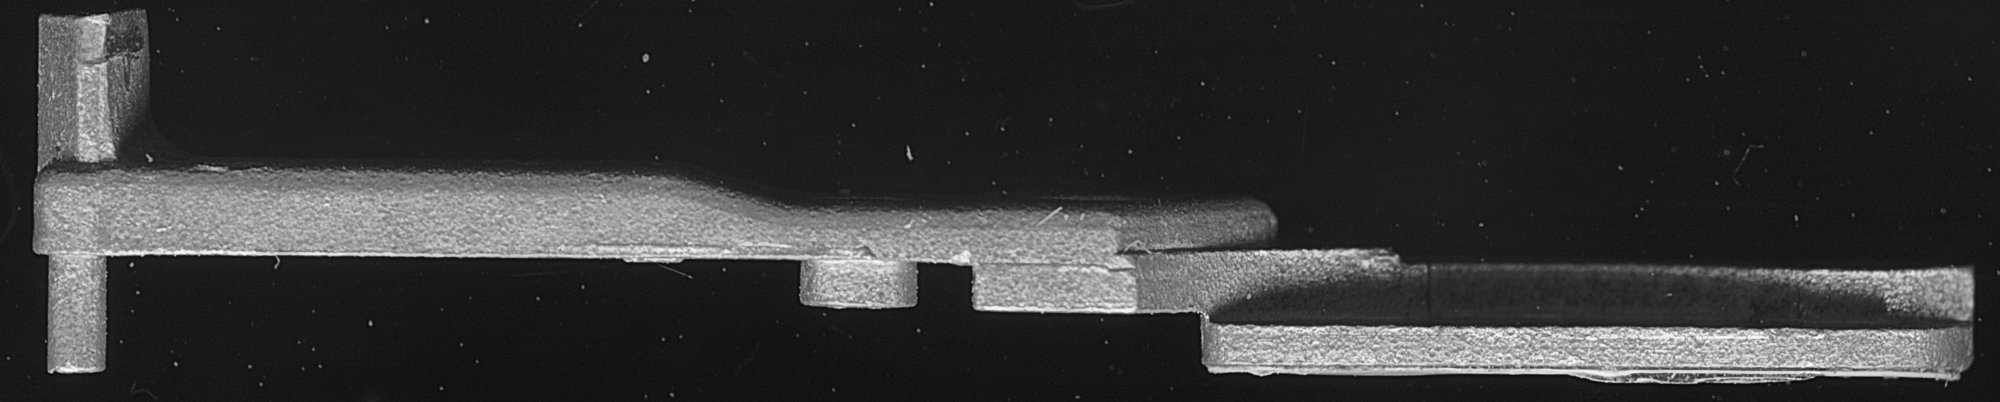 top:
top:
 one side:
 and the other side (the good side):

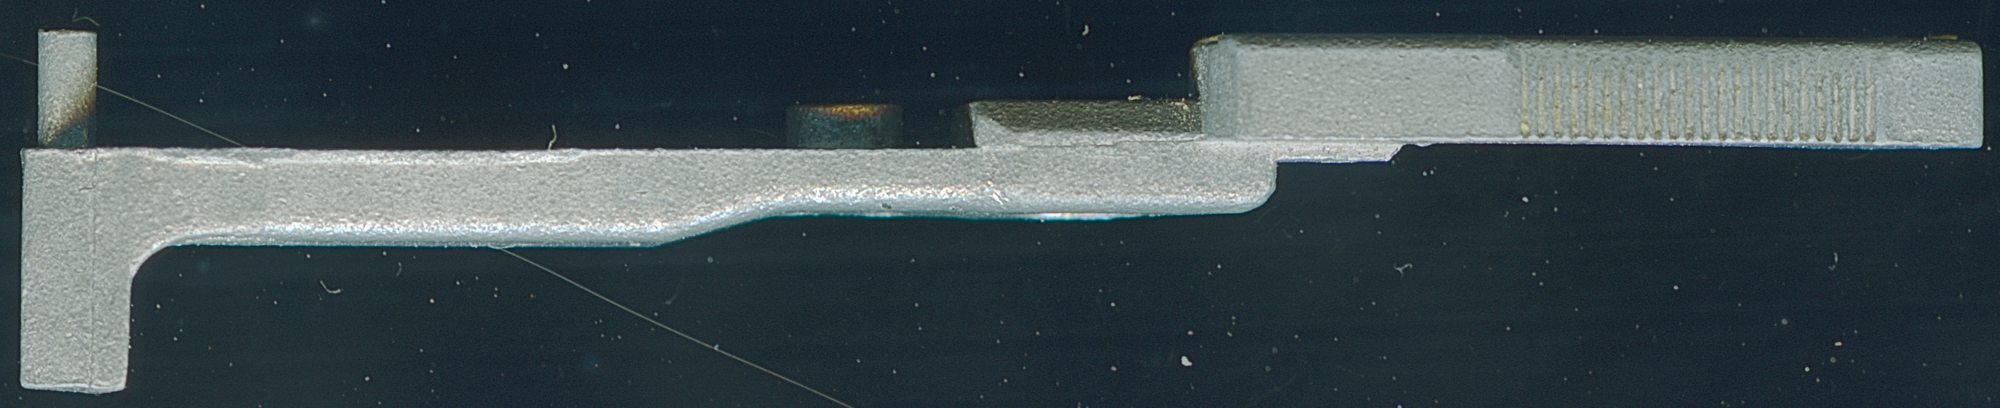
For the top I took a extreme close up. I could count the 22 ridges. To get so much detail I take this pictures with my V750 scanner, scanning at really crazy resolution.
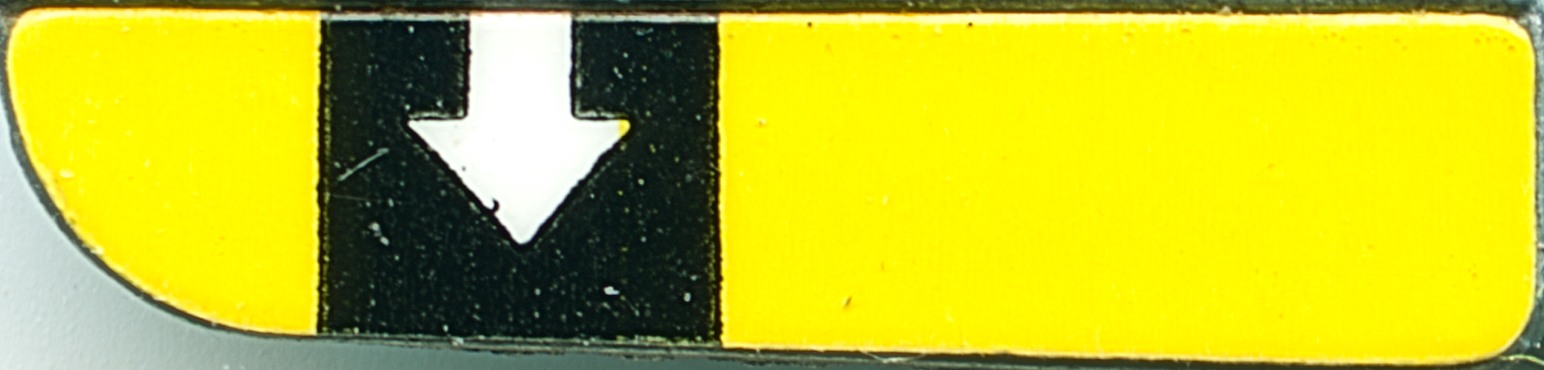
 And of course you re-create the graphics.

In the second part of this post I will detail a bit more how (really) easy is to go from the pictures to sketches, to shapes.
Once you have the part in Fusion, you have to make sure that is exact size you need. Don’t worry, It’s really easy.
I have not been sponsored at by Autodesk, but PCBWAY has kindly gifted me the possibility of having the part manufactured, via CNC for free. What they have made is not short of amazing, you can now order your parts as easily as you do with PCBs. You can choose the material, in my case is Aluminum. You don’t need all that expensive (and amazing) hardware since PCBWAY has got you covered.
In my next post I will detail how I modeled the part, and most importantly I will show the actual part, and check if it works, and so on.
Do we have a solution for this part? Watch this space.
Comments